When I made an abrasive decision to move into a new studio I didn’t consider the fact that I would be building a light wall/faux window out of nothing. In my old studio I had a large window that I put my light behind and it worked great!
The new studio didn’t have that, nor did it have a window with natural light at all. I had to get really creative in figuring out how to go about building a light wall/faux window.
So I researched, and looked up several different ways to go about it. And I came up with two solutions: a lastolite and a light wall. I got the lastolite, and an extra Einstein, and I just wasn’t in love with it. It was massive and took up so much space. I came across a video from a different photographer building a light wall on an insulation panel, so I took a similar approach and attached it to my wall. I tested out different kelvin temperature lights to ensure I was getting the output that I needed, and adjusted my curtains to diffuse to my liking.
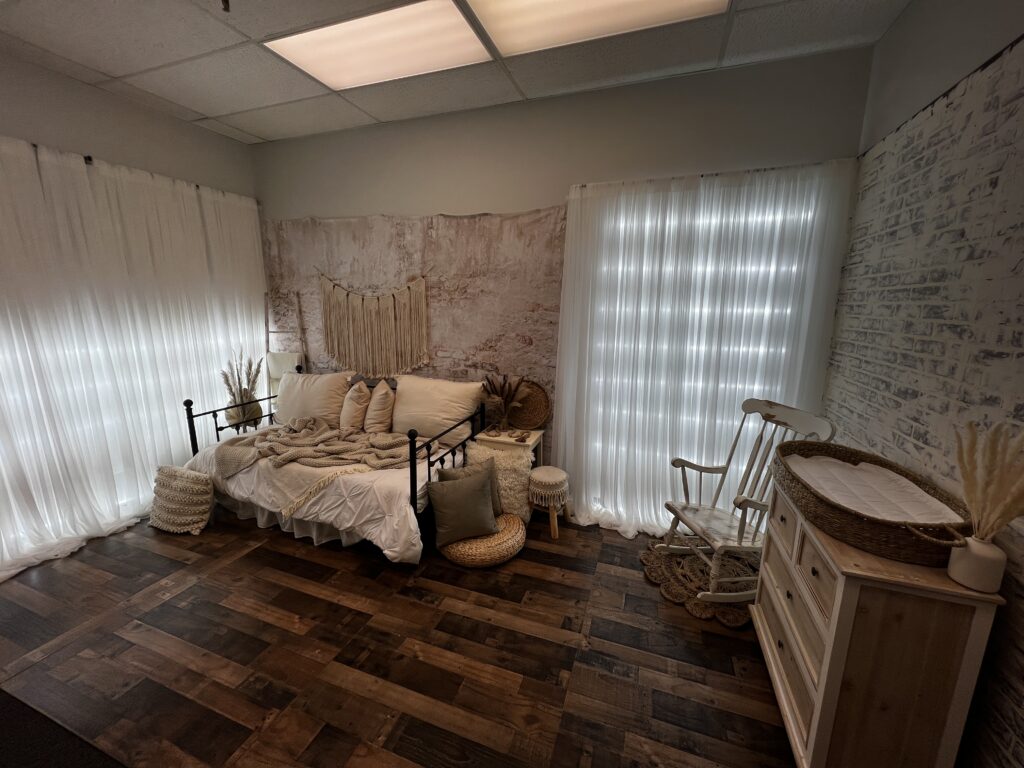
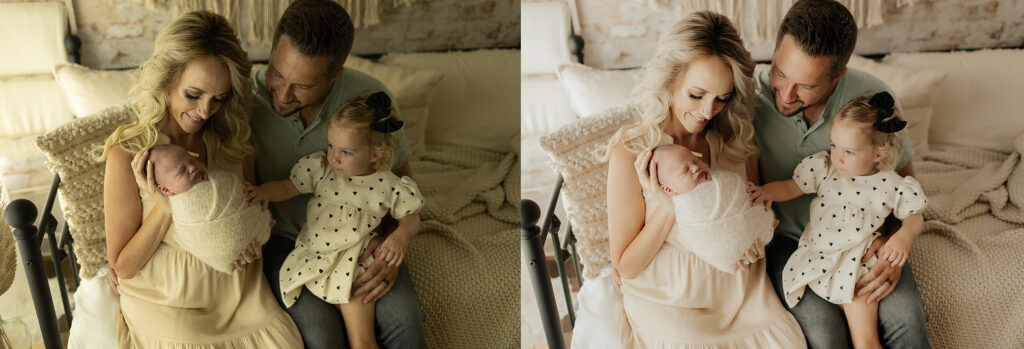
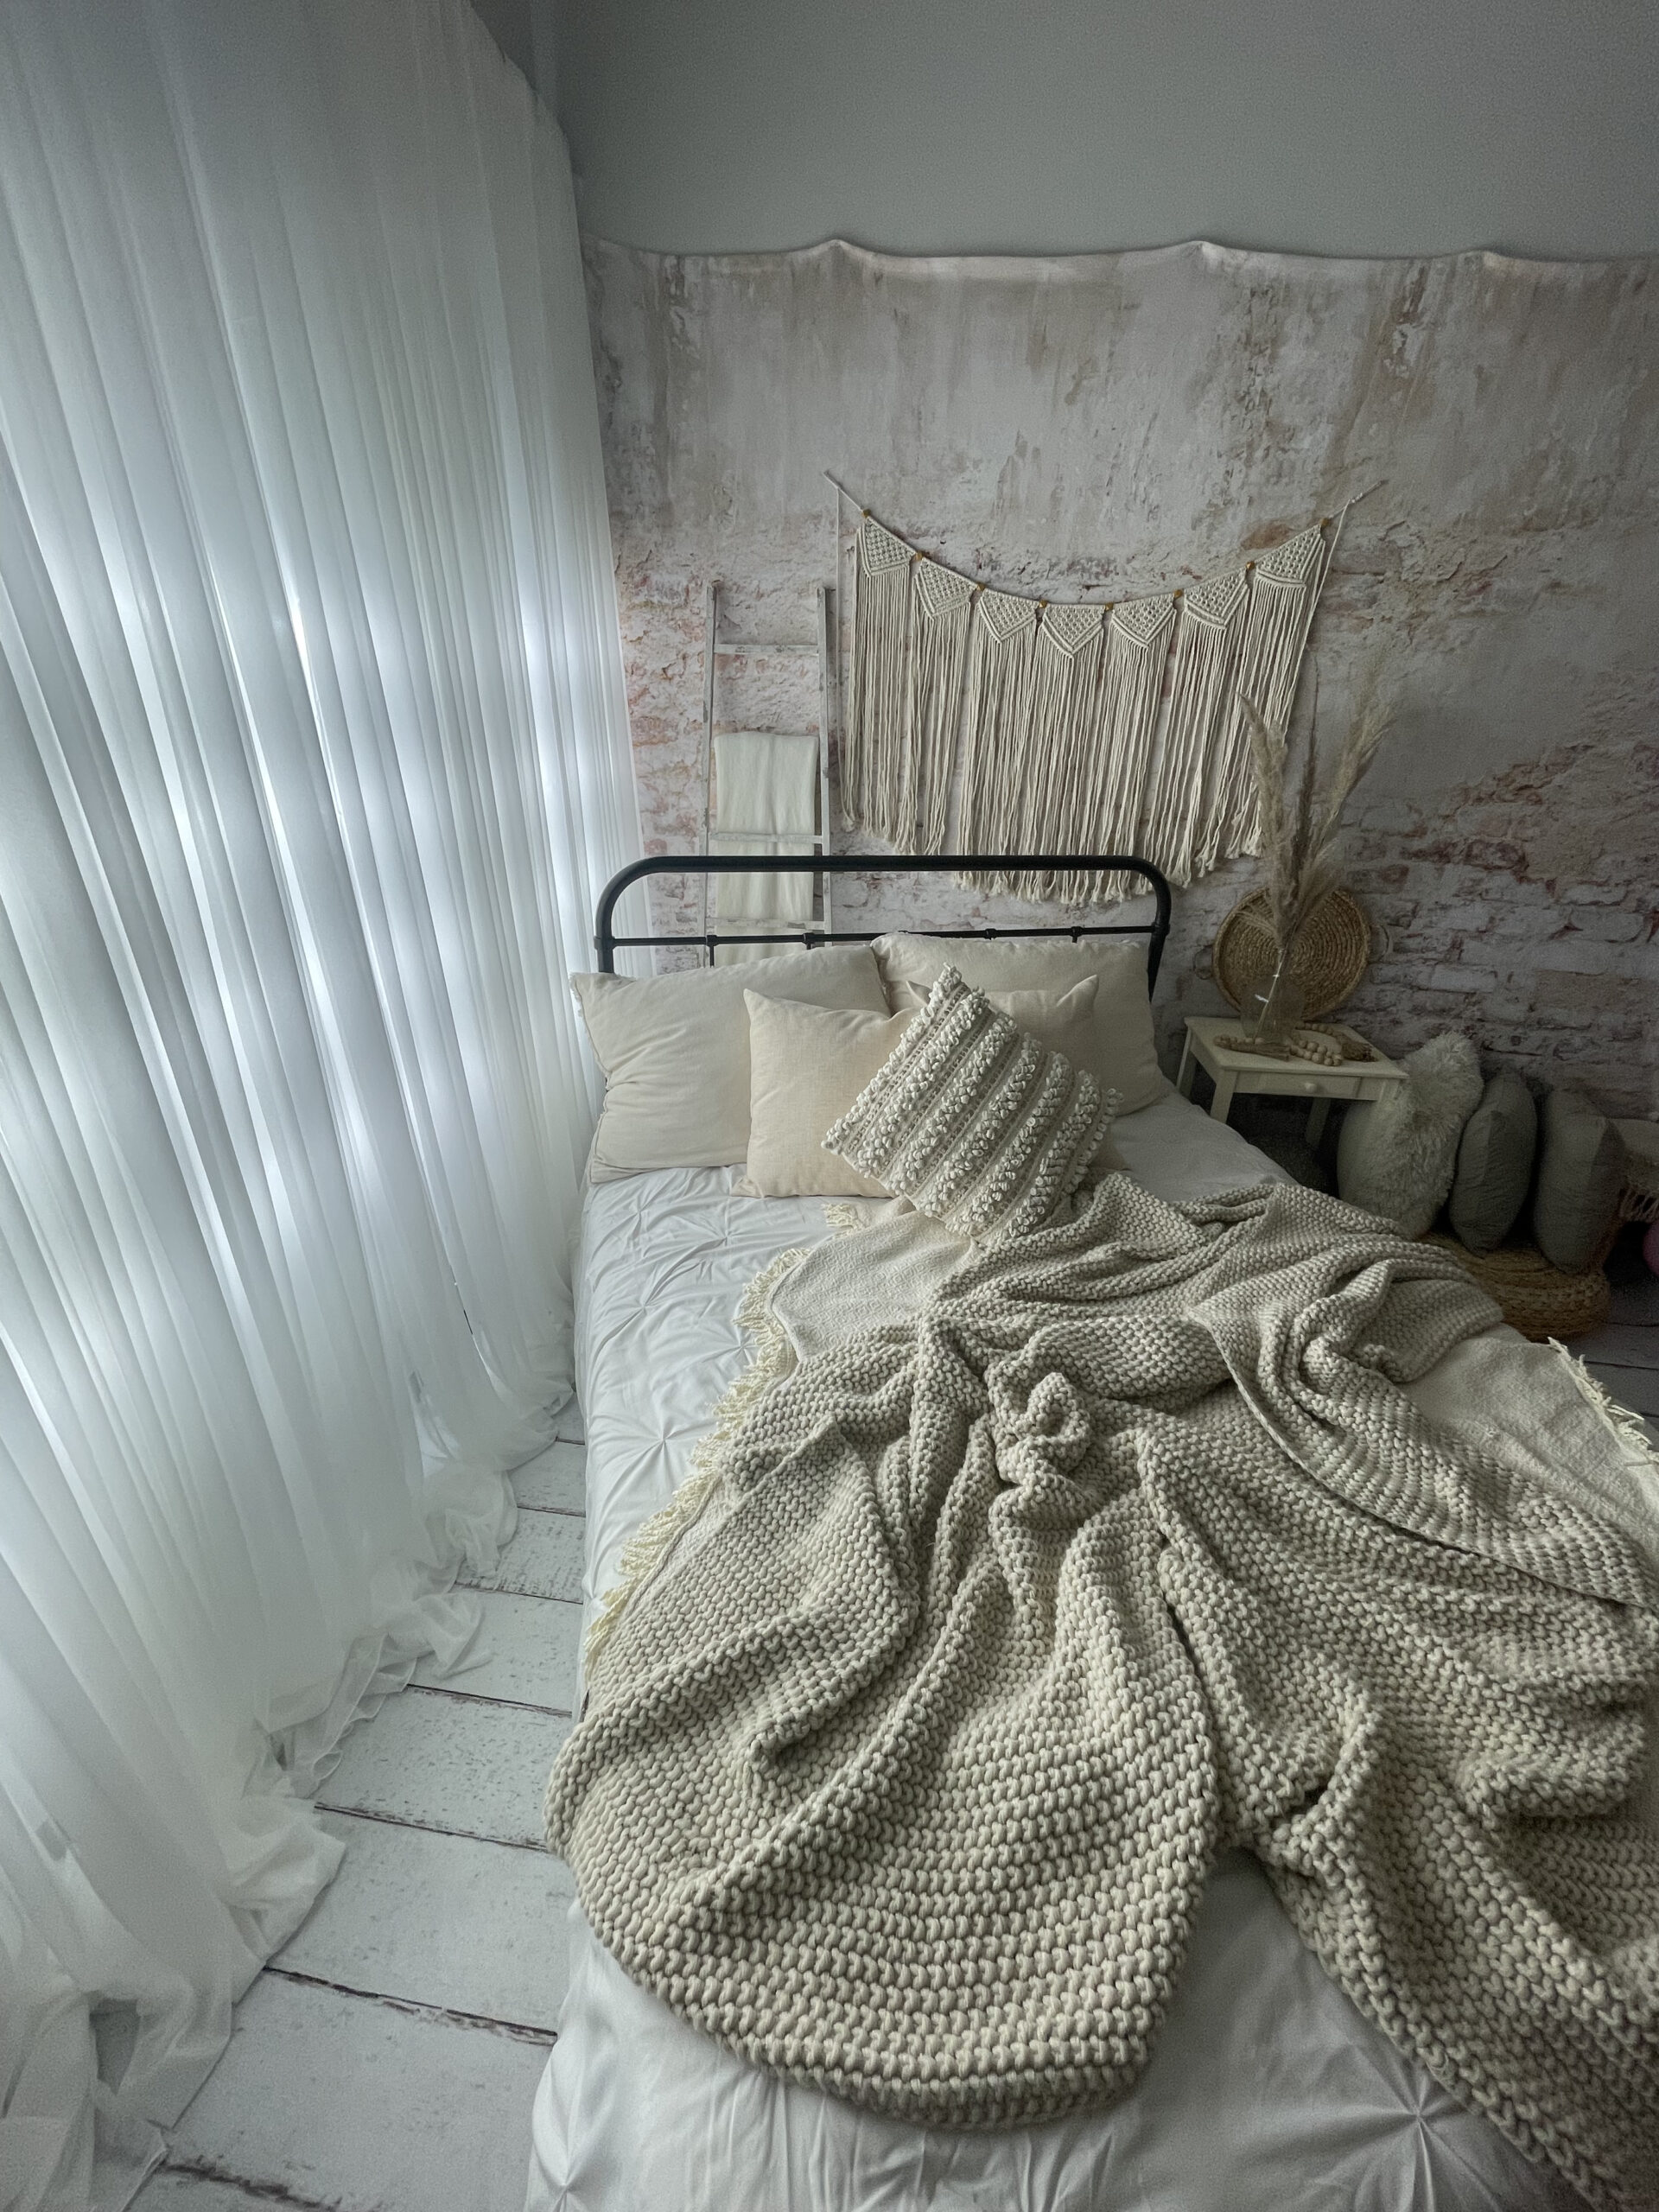
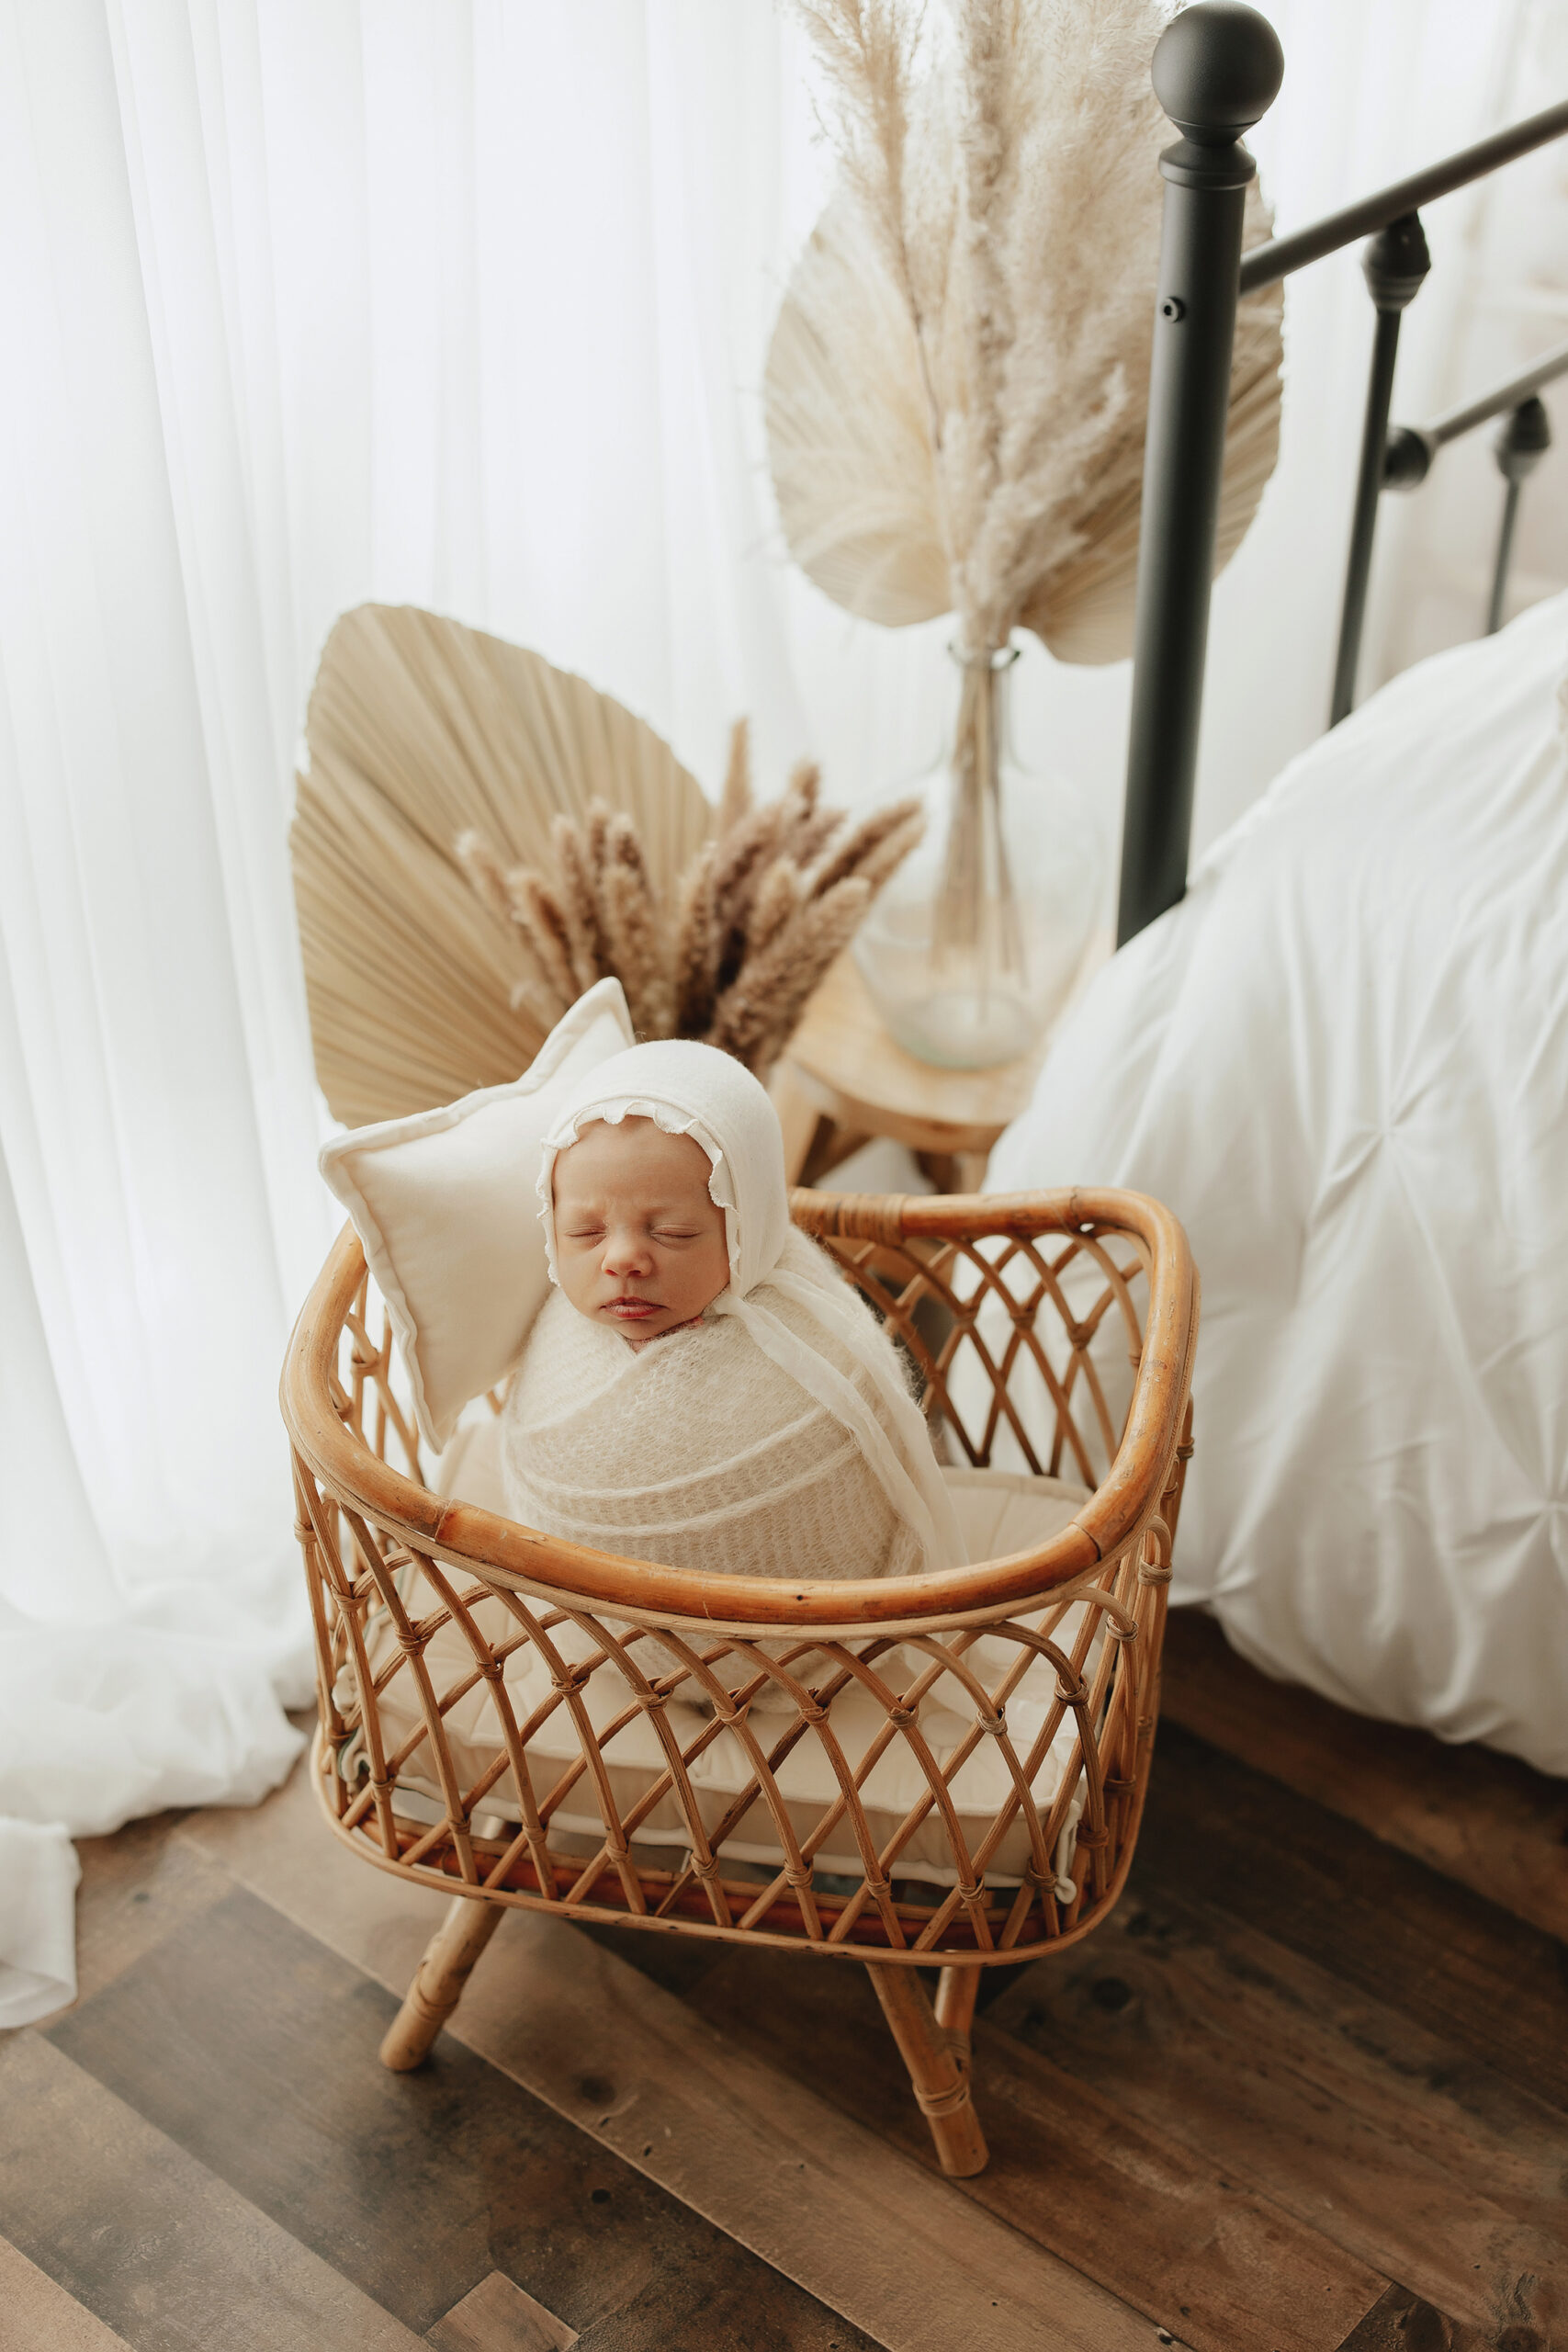
While I know it doesn’t look amazing here, I promise it photographs so good!
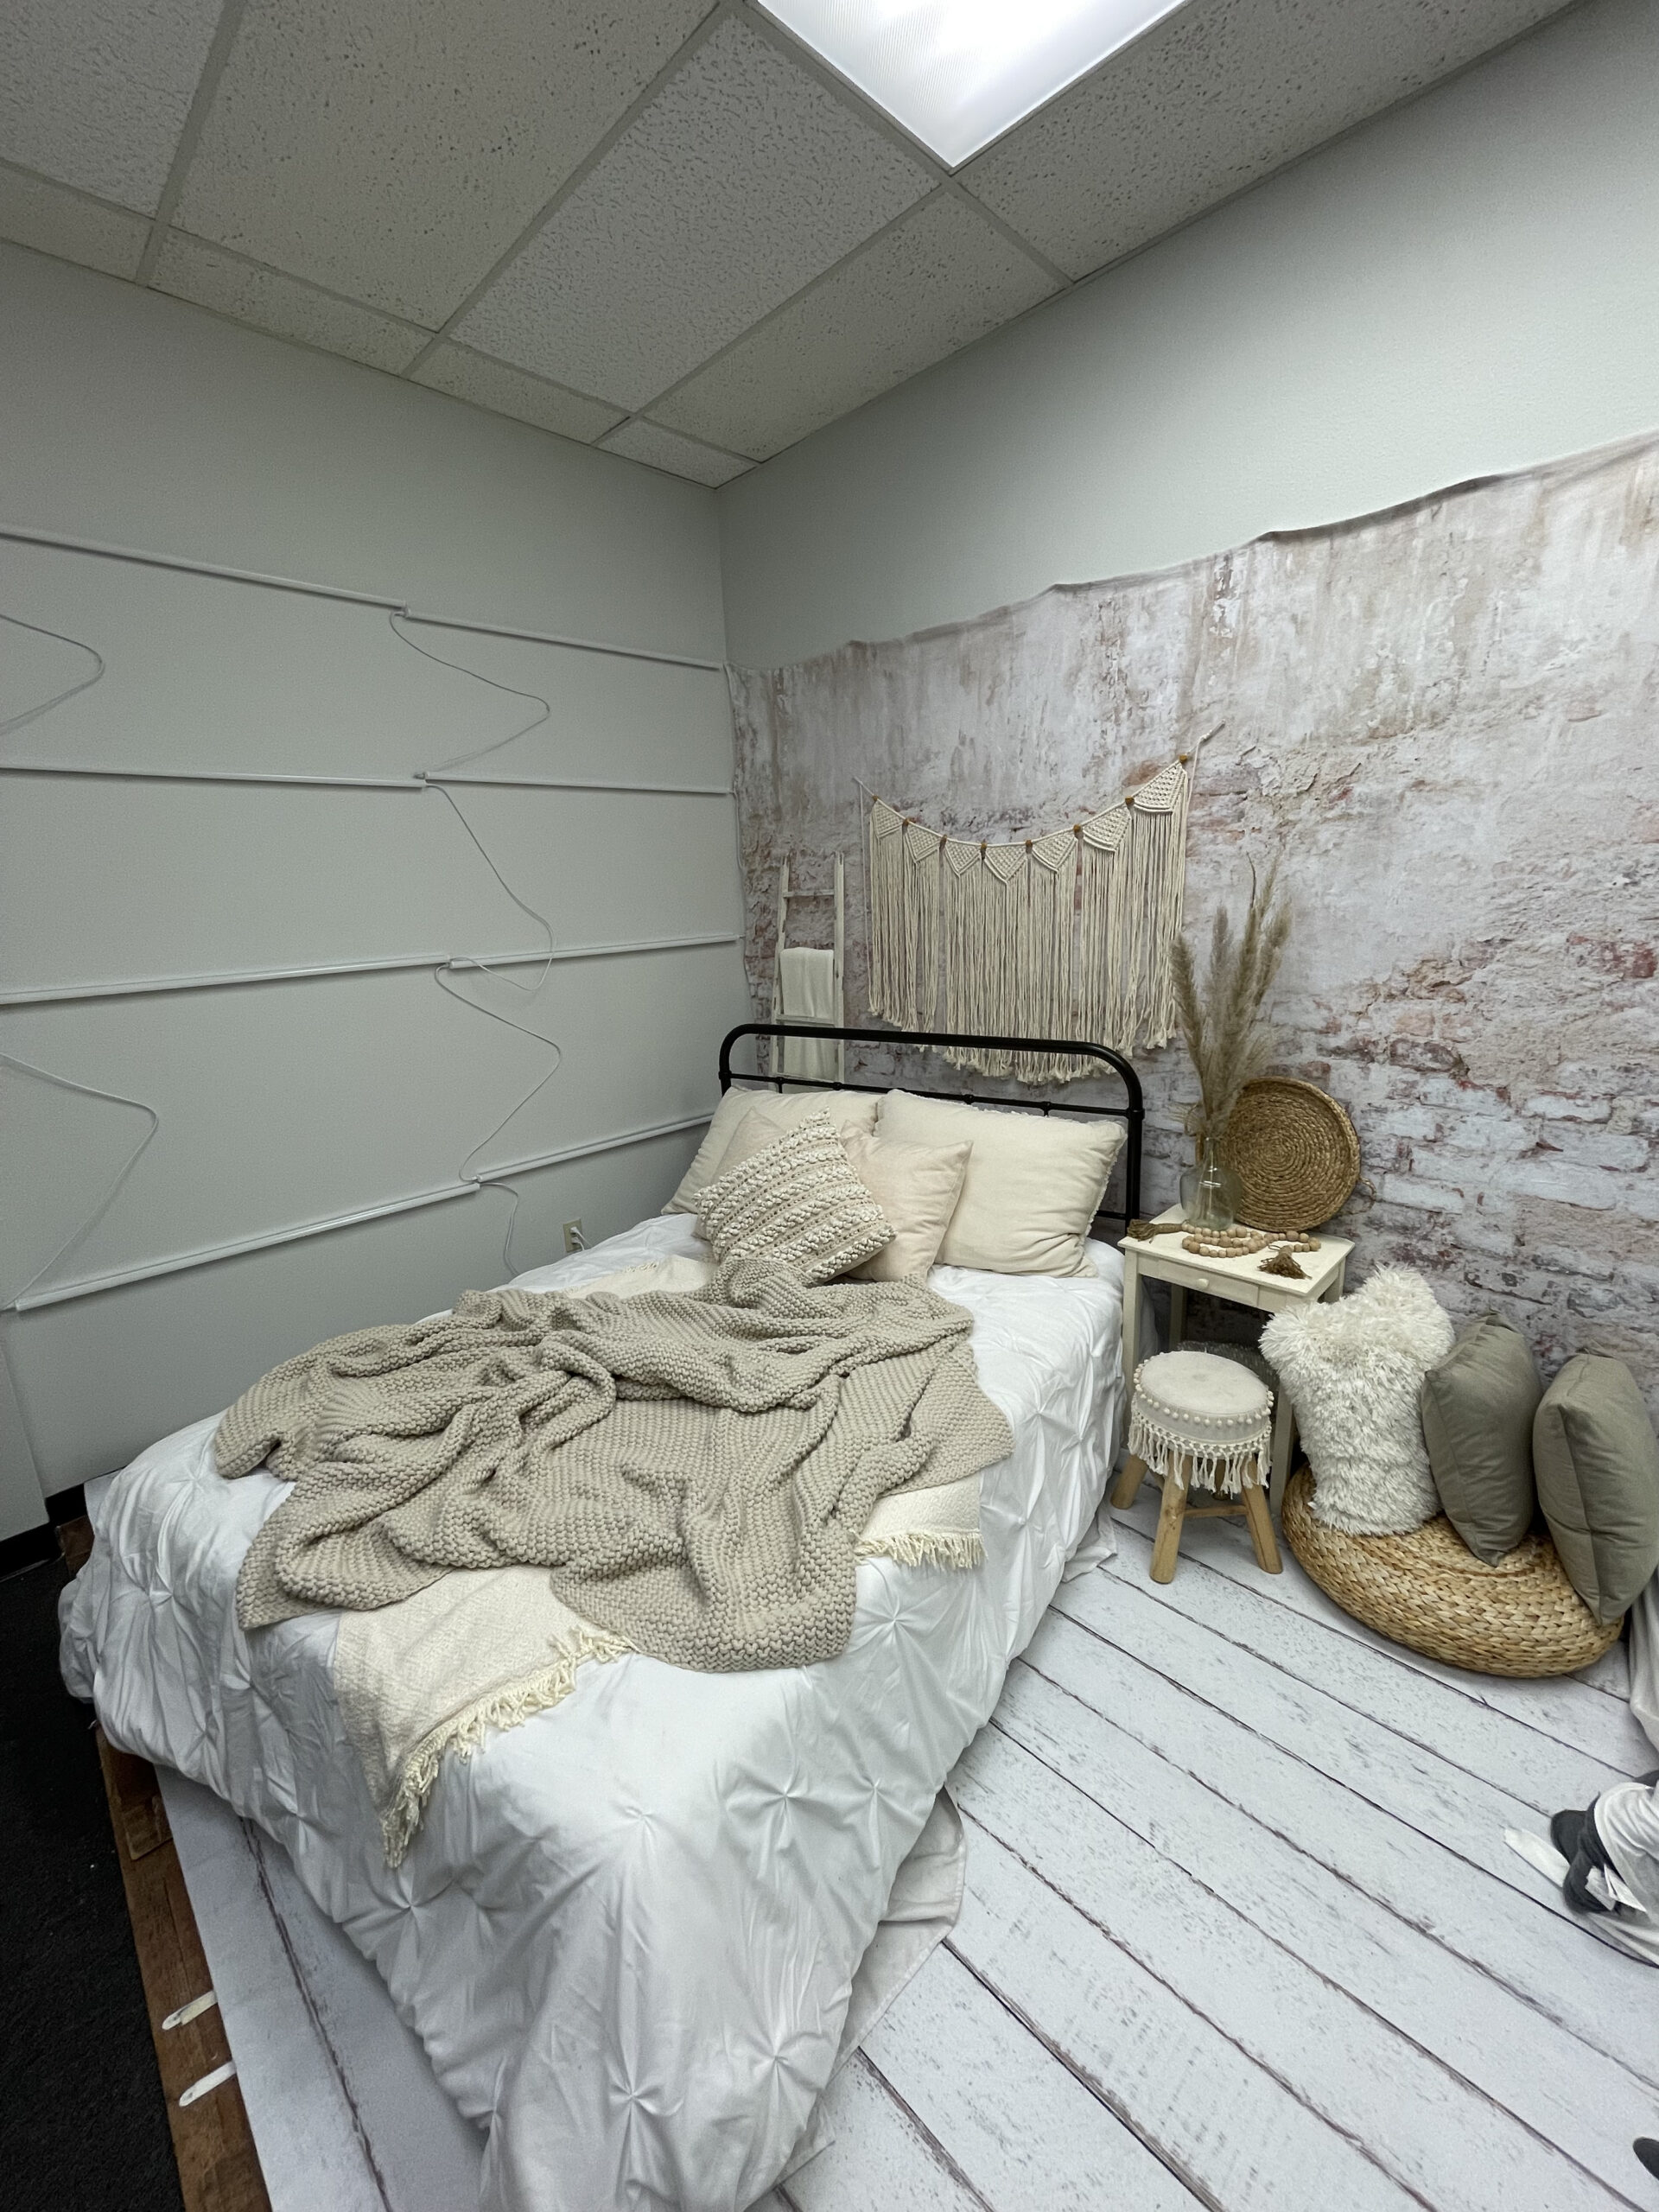
final product of the light wall for the milestone/cake smash area
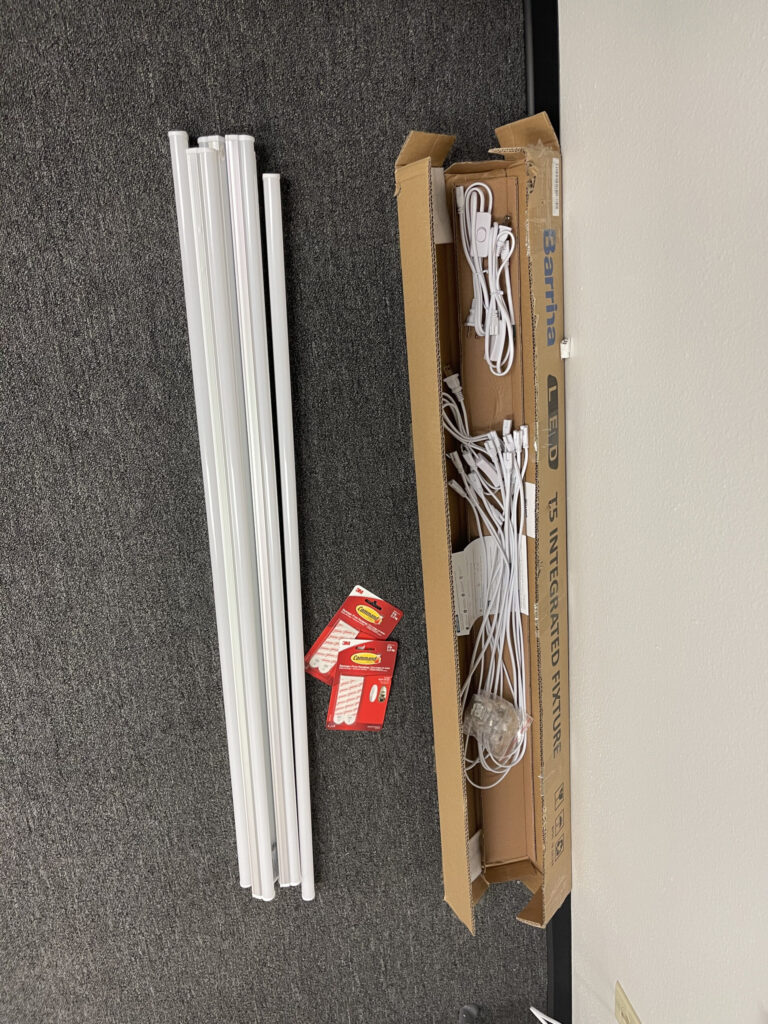
what you need.
here’s everything I purchased, and it’s all from amazon! All the bolded words are direct links to what I purchased! command strips: I wasn’t sure how heavy the lights would be, but they’re super light. I used two strips per light. lights: there are 8x 4ft light bars, I bought one pack, and did two rows to create an 8ft “window”. I chose the 6000K so it was more like natural daylight, and because I shoot with my Einstein at 5200K, and I knew I didn’t want it warmer than that! sheer curtains: I bought 8 sets of these, they come in a two pack, so I have 16 panels total. The less curtains you use, the more light that will show and you’ll be able to see the light bar. Any sheer curtain should work, but I have these because they’re 10ft. frosted shower curtain: this goes between the lights and the curtain, it helps diffuse the light so you don’t see the bar of light. I bought this one just because it was 8ft long and I wanted to make sure it would cover the whole strip of lighted area. on/off remote: this isn’t necessary as the light kit comes with on/off switches, but I wanted to be able to turn them on and off without walking over to them. Also, I’ve gotten several requests about my floors. Even though it doesn’t pertain to the light wall, I wanted to give you the link for them as well!
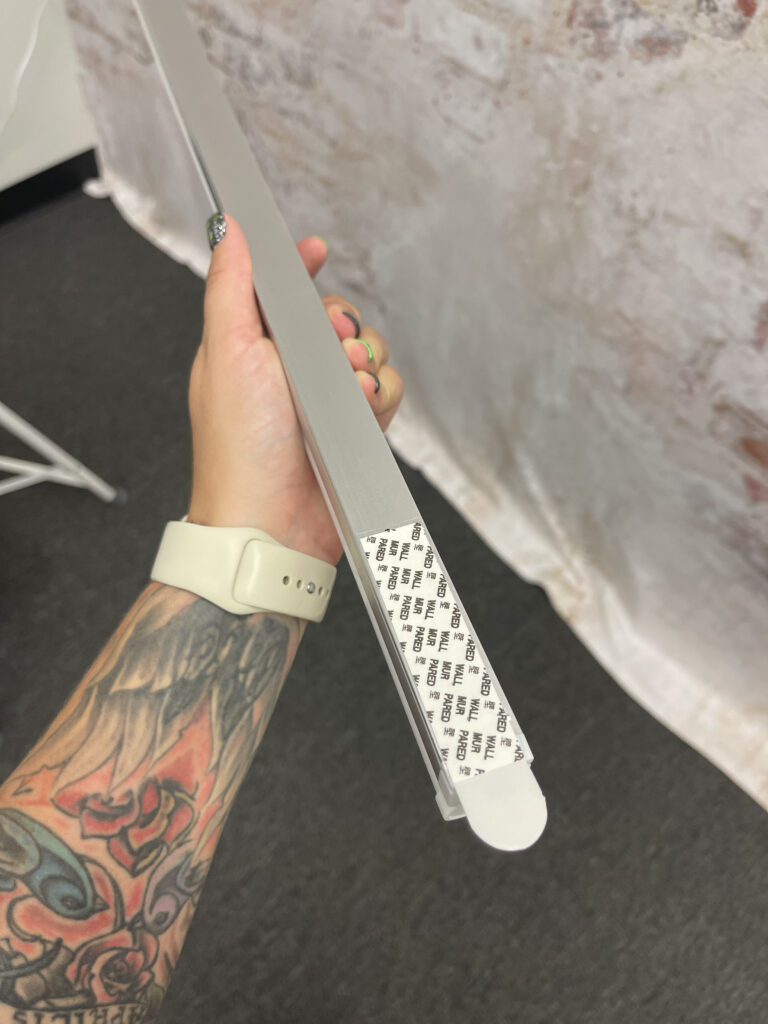
step one.
First, gather all of the materials for the project, obvi! most of the items are prime so you can get them relatively quickly! I put my command strips on each end, of each bar.
step two.
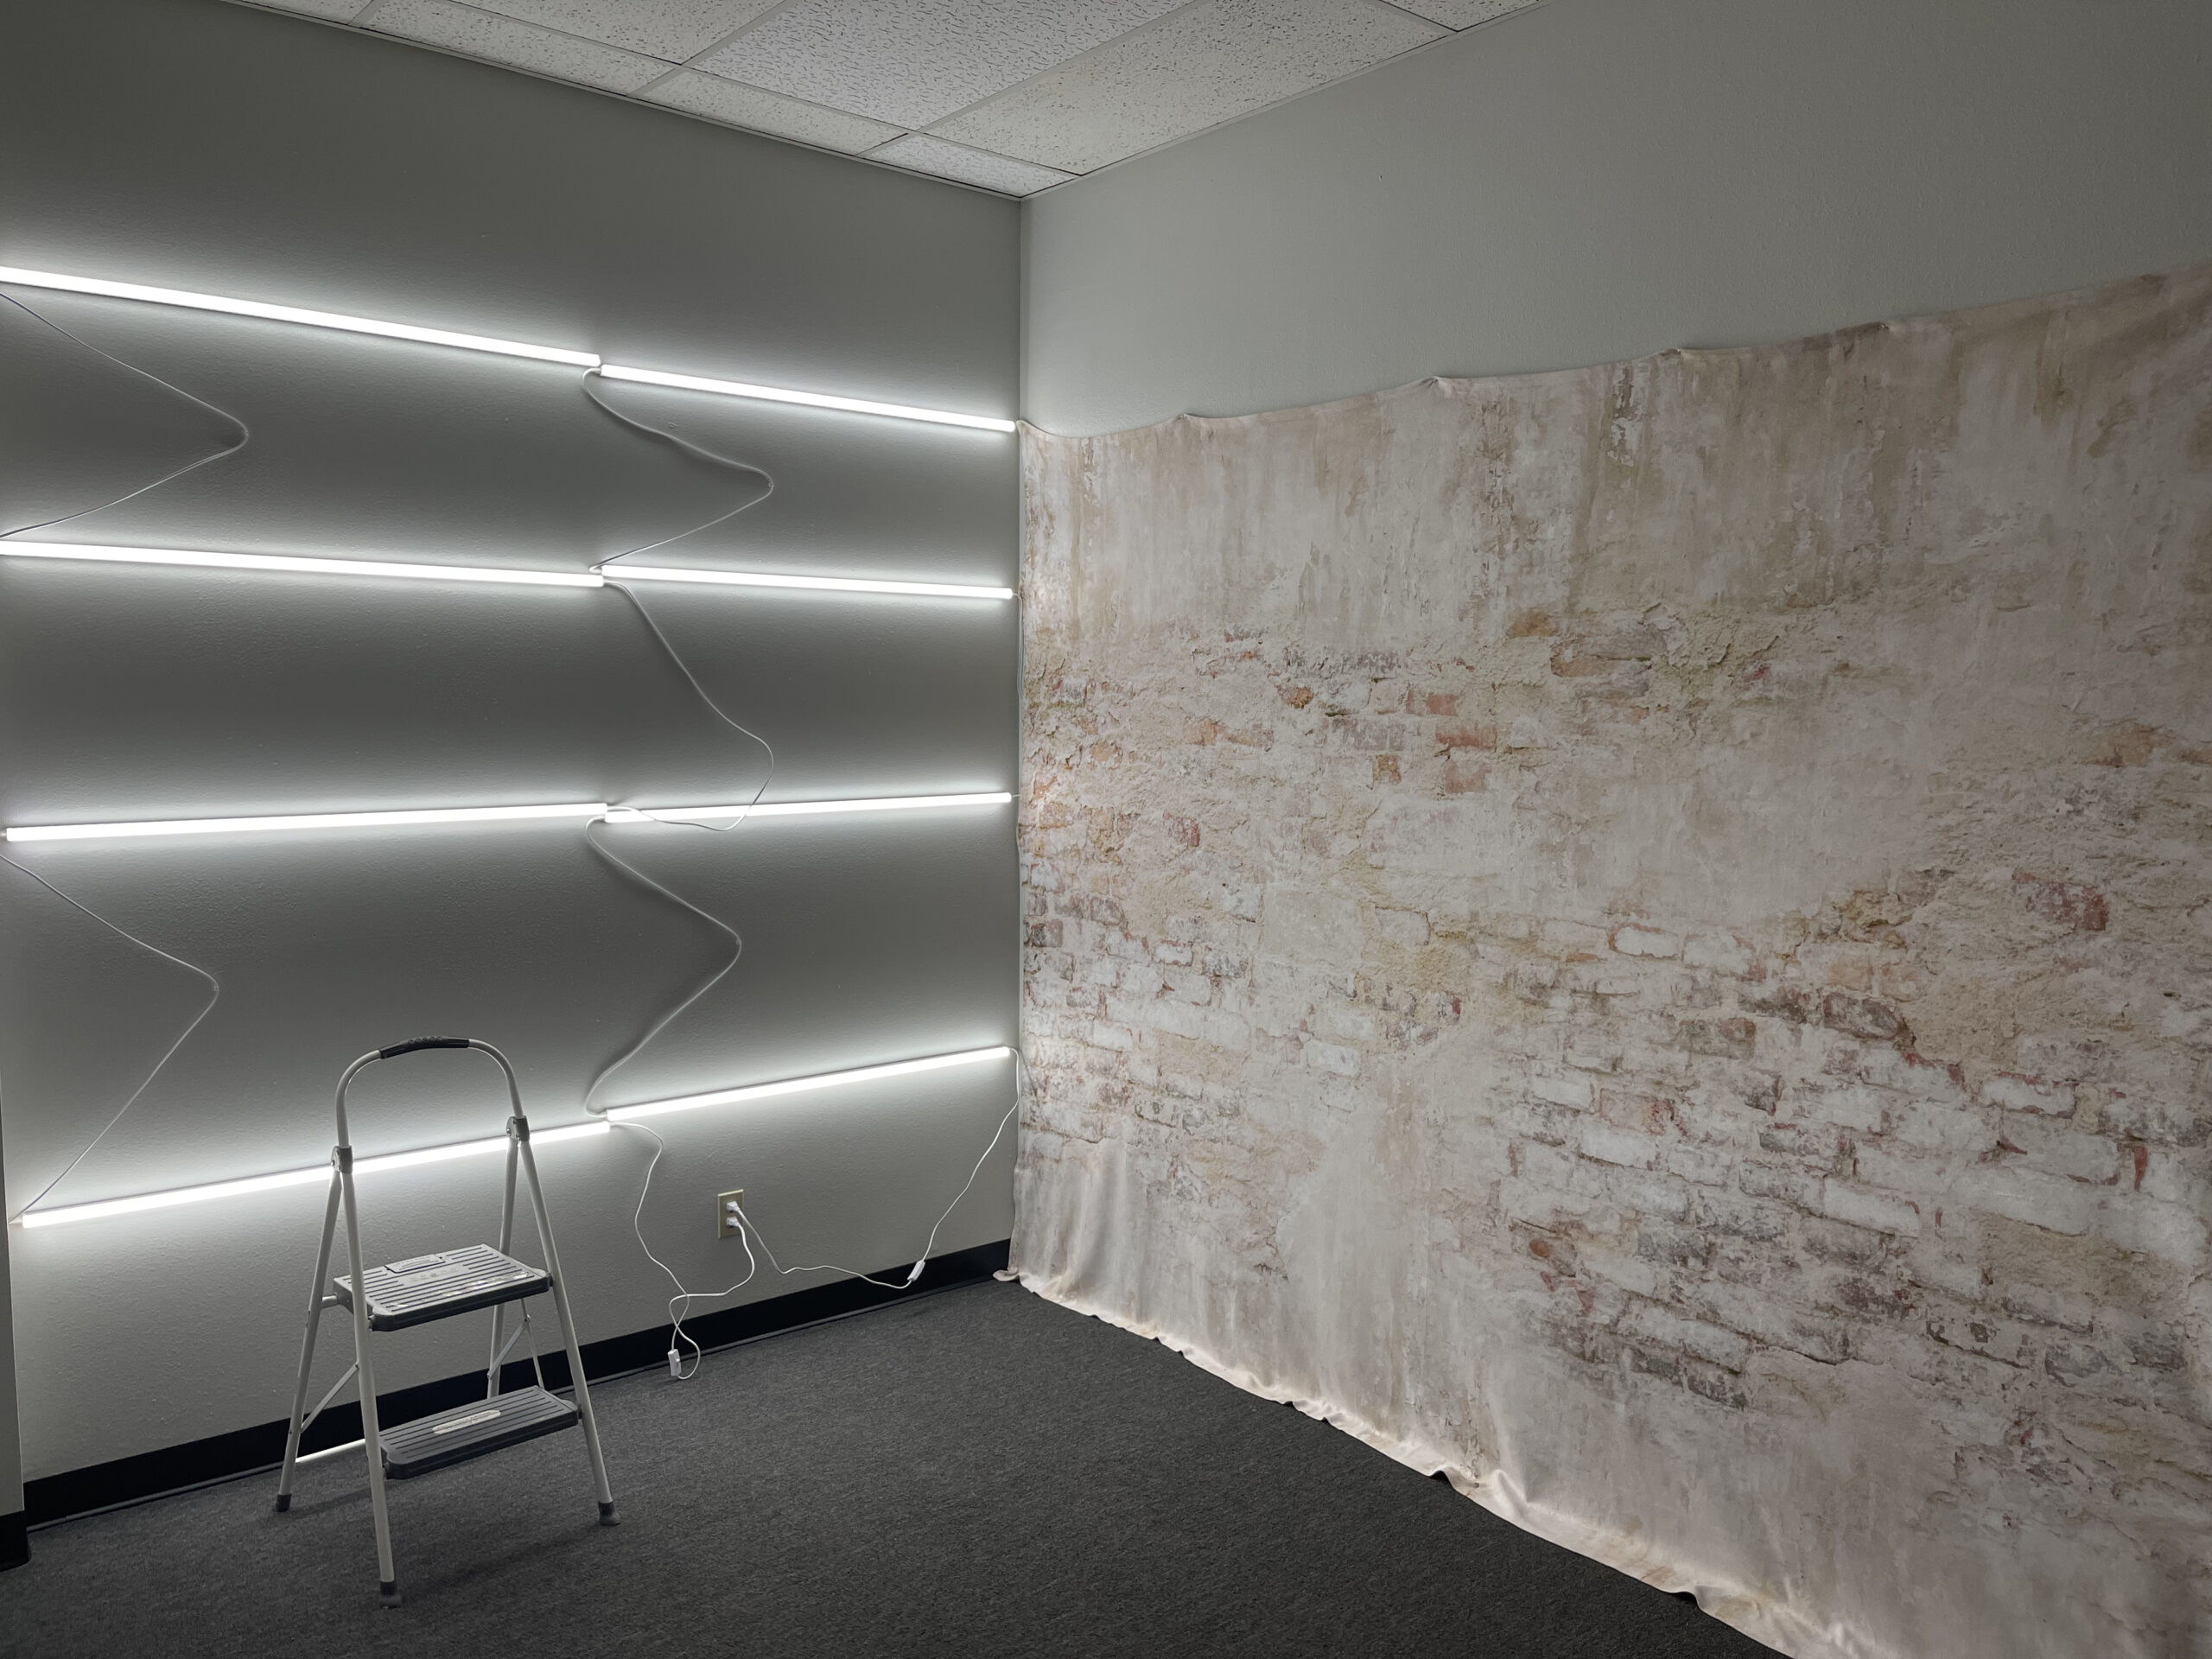
Stick the lights to the wall. I originally placed mine with even spacing to cover the whole area where curtains would be, but having them spaced so far apart made for dark shadows in between the lights making it very obvious that they were light bars.
step three.
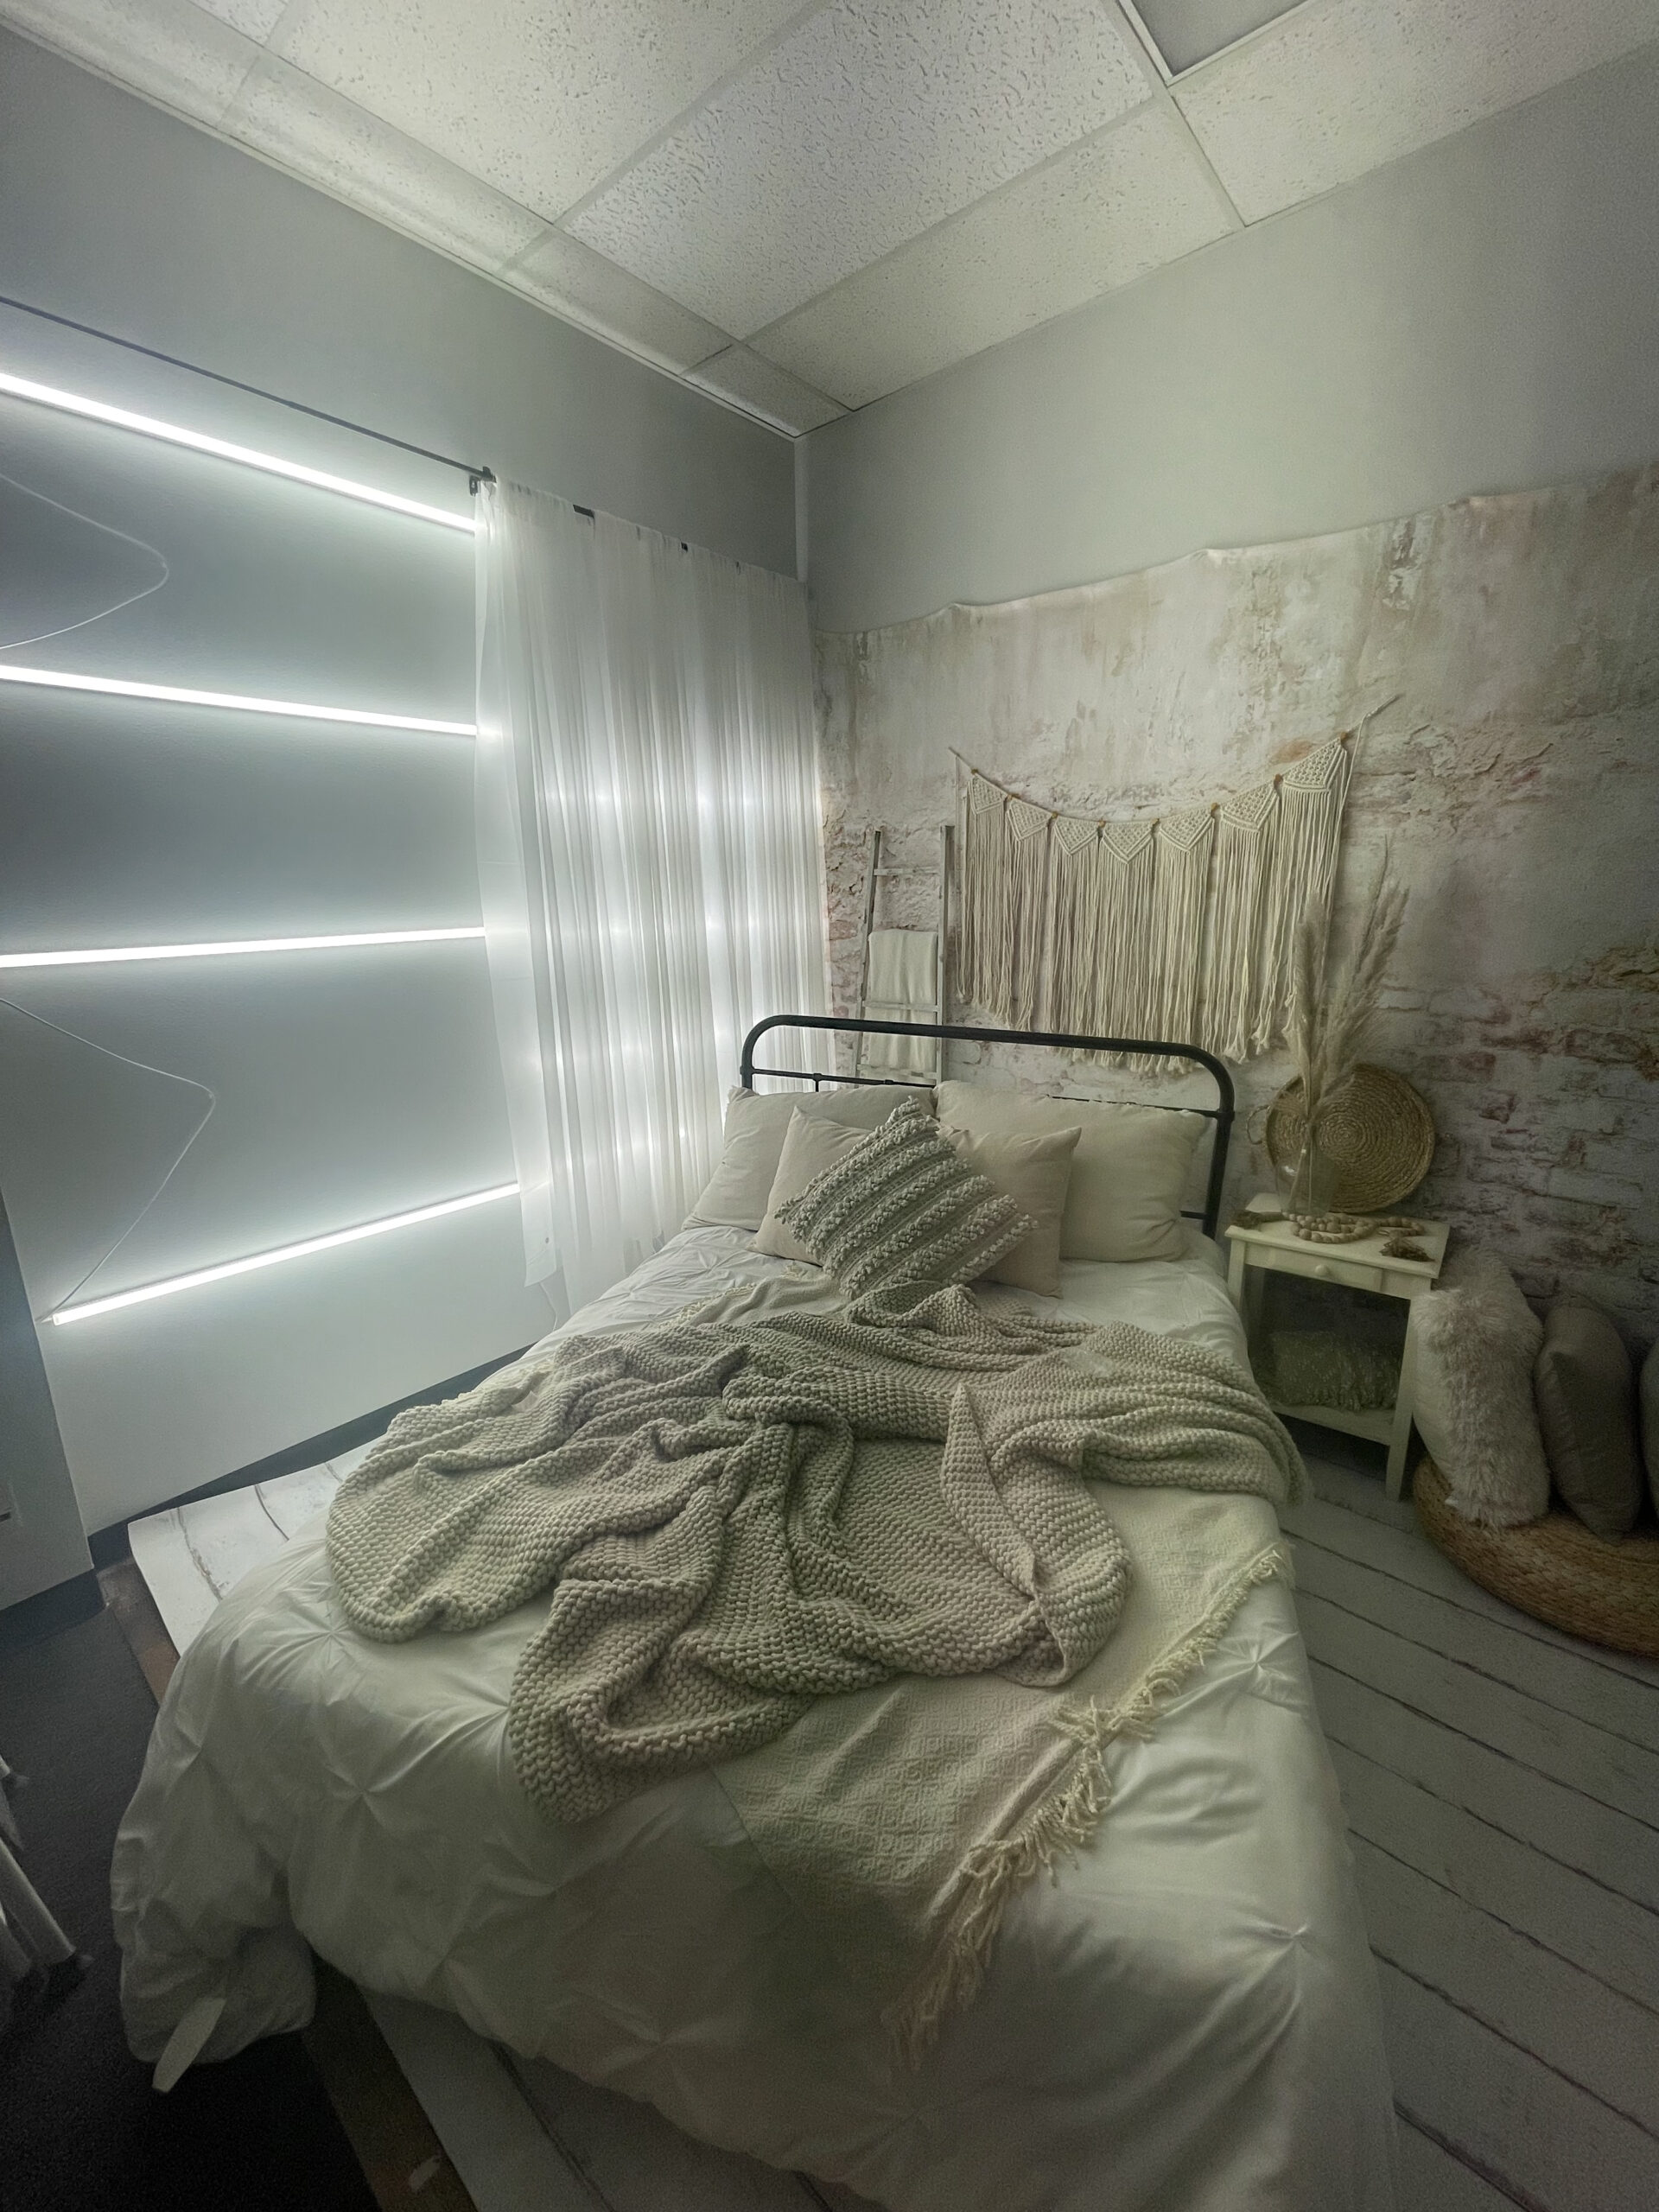
Once the lights were on the wall, I hung the curtains to get an idea of how it was looking. I started with eight panels to cover the whole 8ft area, and it was way too transparent. So that’s when I added the shower curtain to one side, and moved all the panels to one side. Now I had the eight panels of curtain, plus the shower curtain covering 4ft of light. Then, I duplicated that to the other side.
step four.
At this point everything was set up, and I still wasn’t loving the dark spaces in between the bars. I moved the bars significantly closer together, I’d say about 4-5 inches apart from each other which turned out so much better!
the final product.
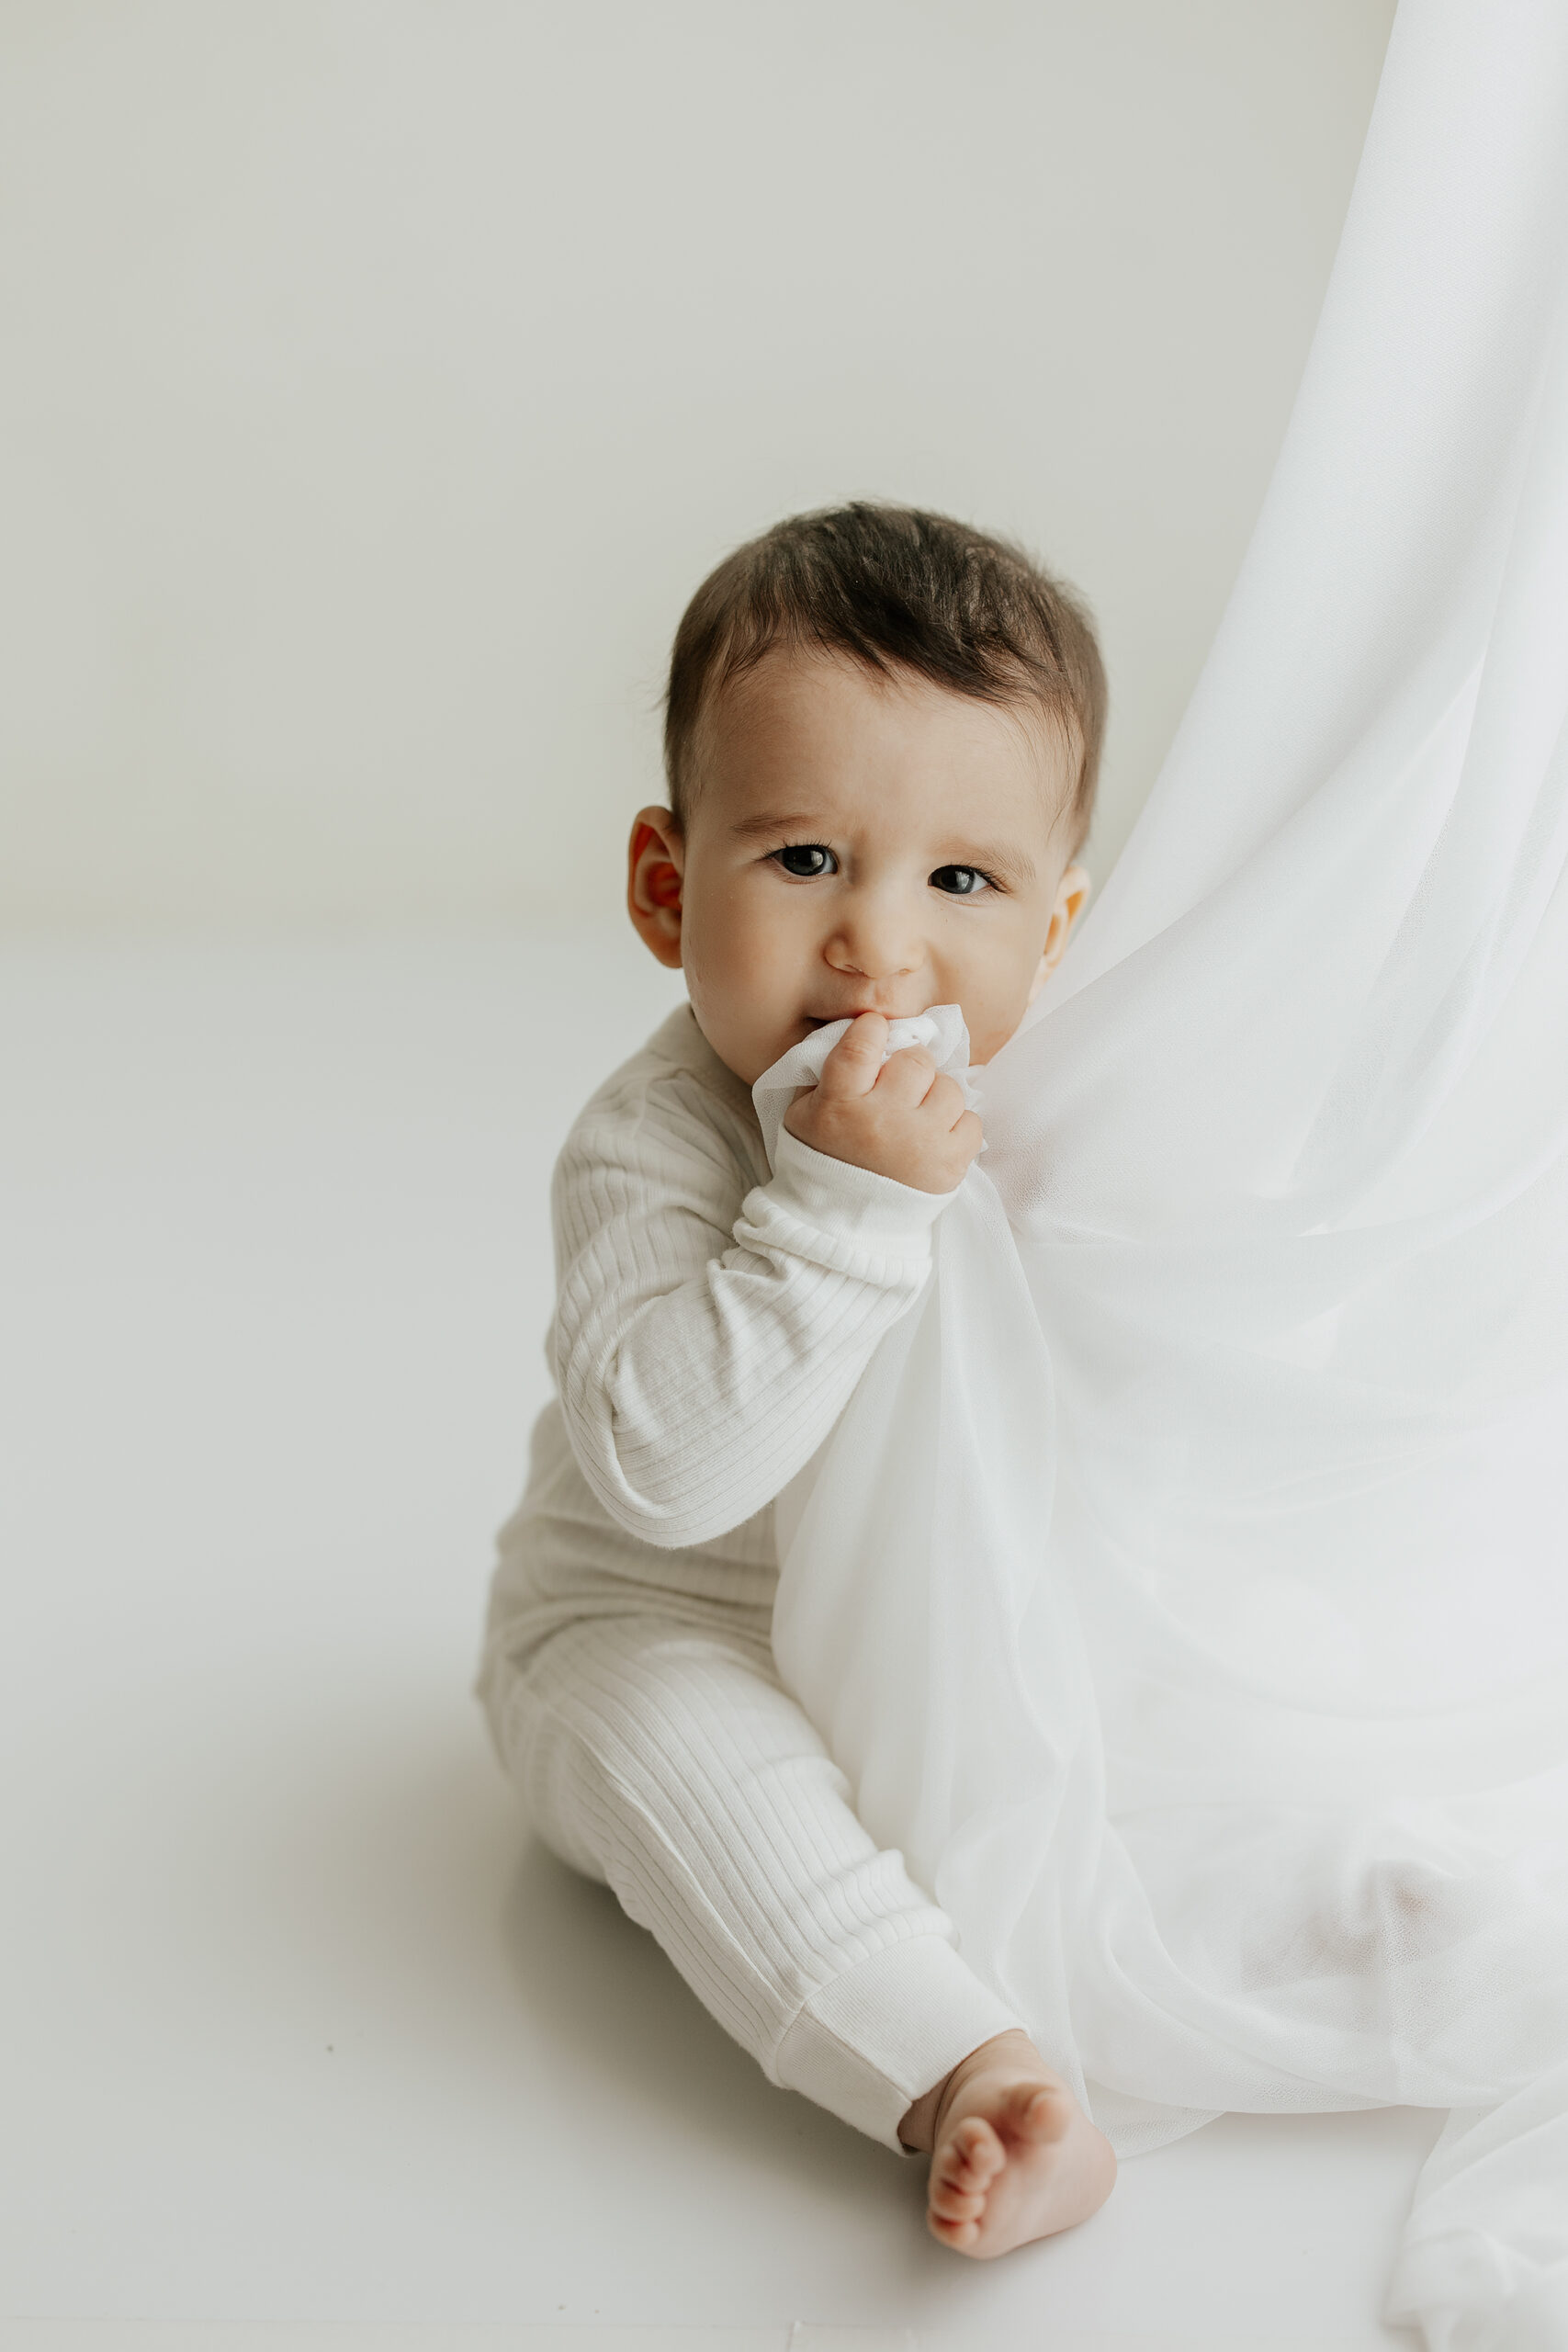
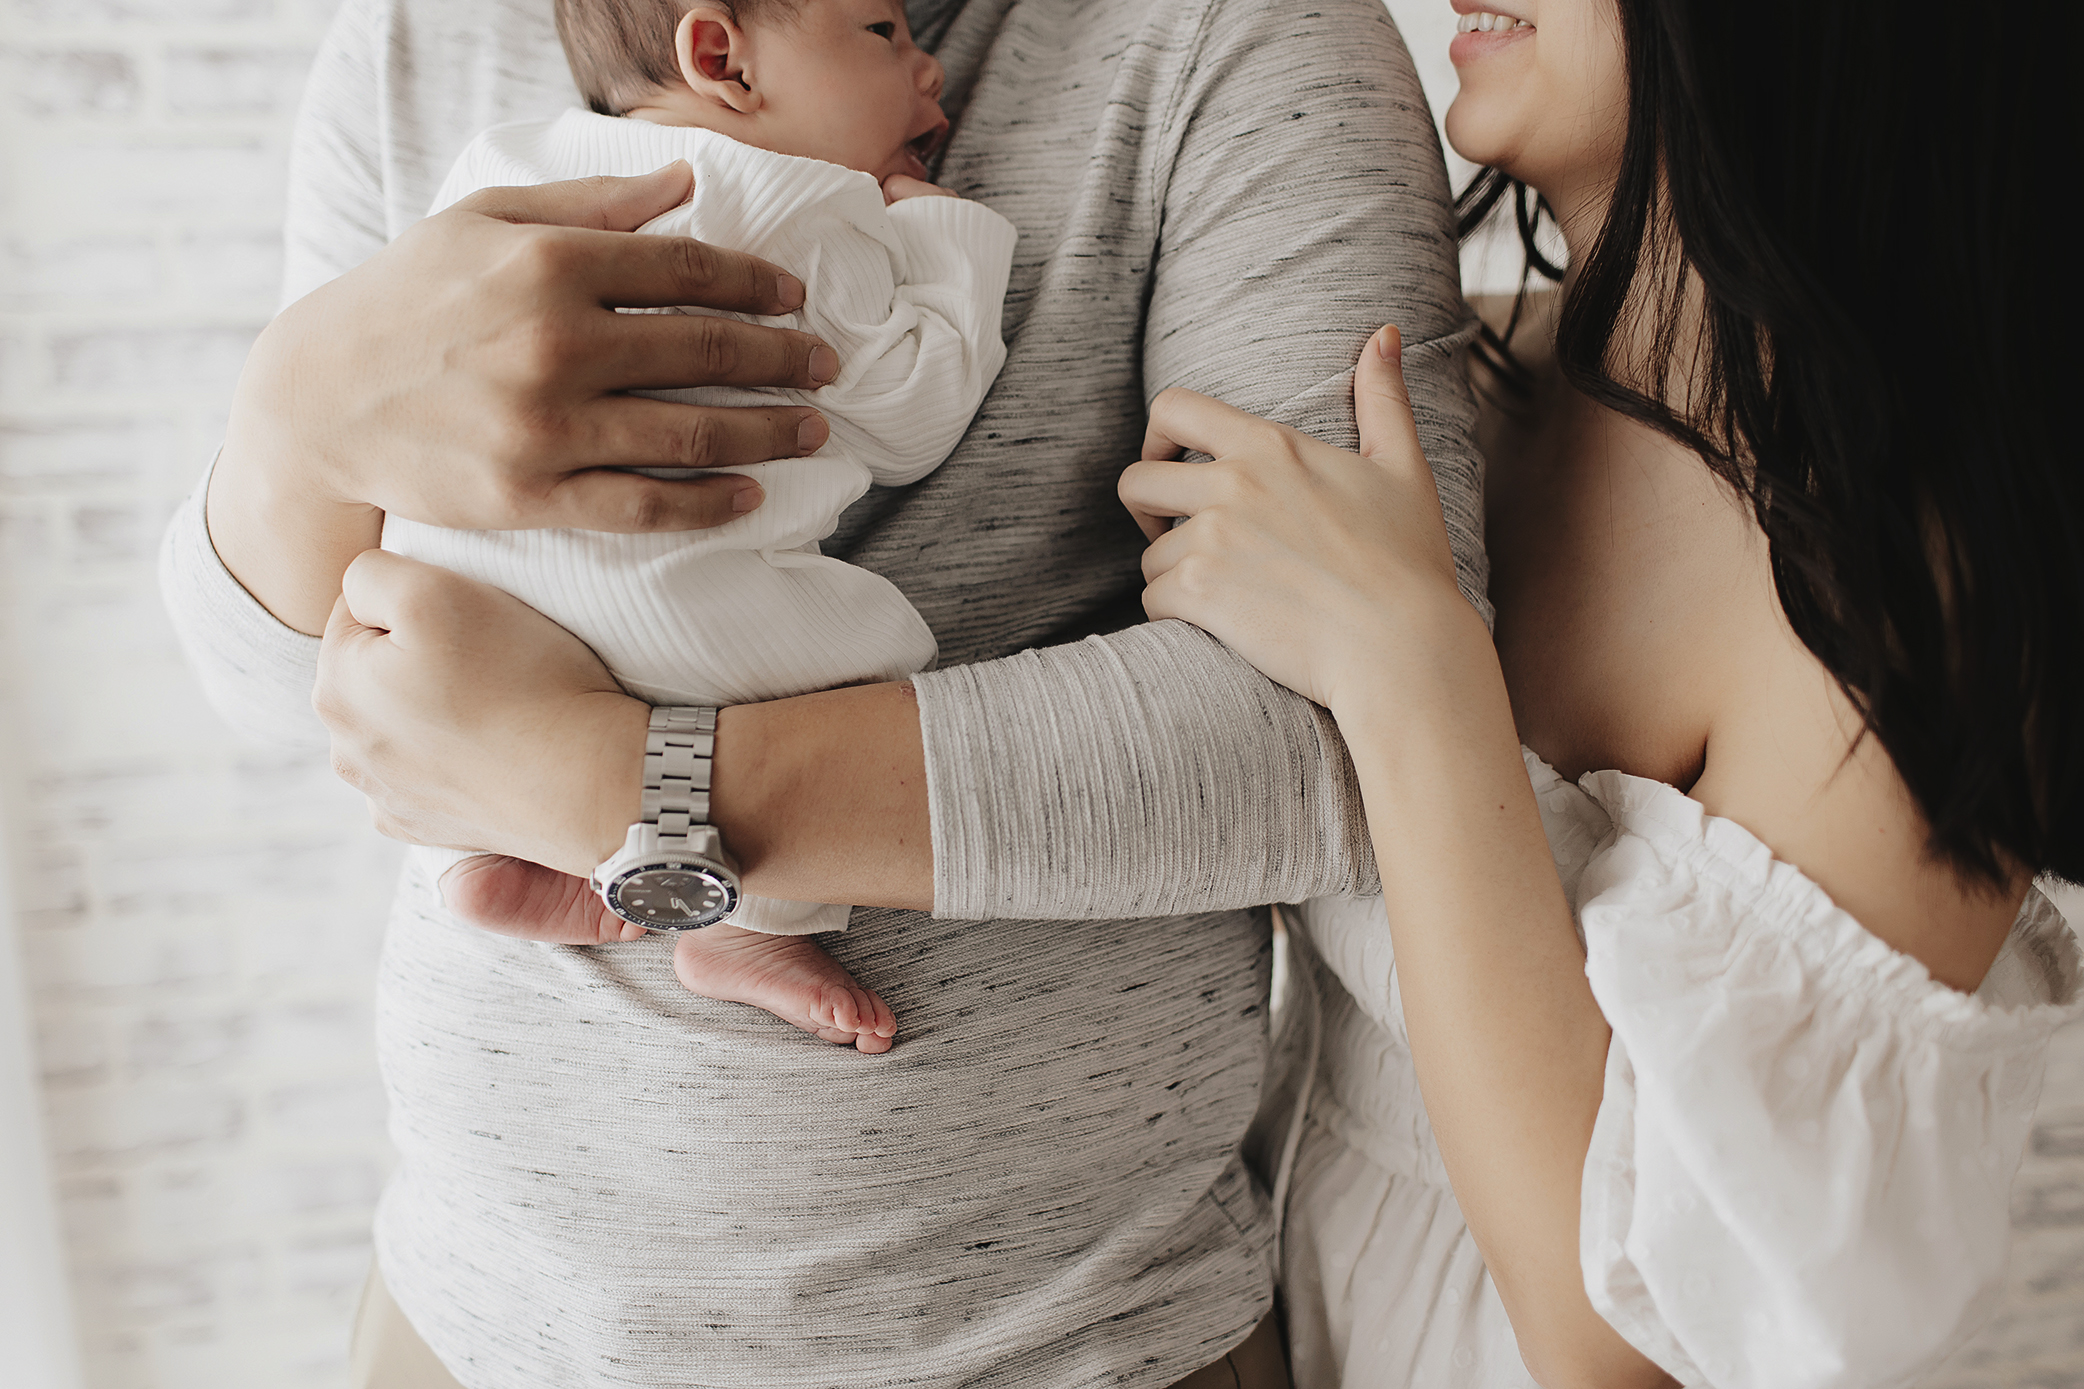
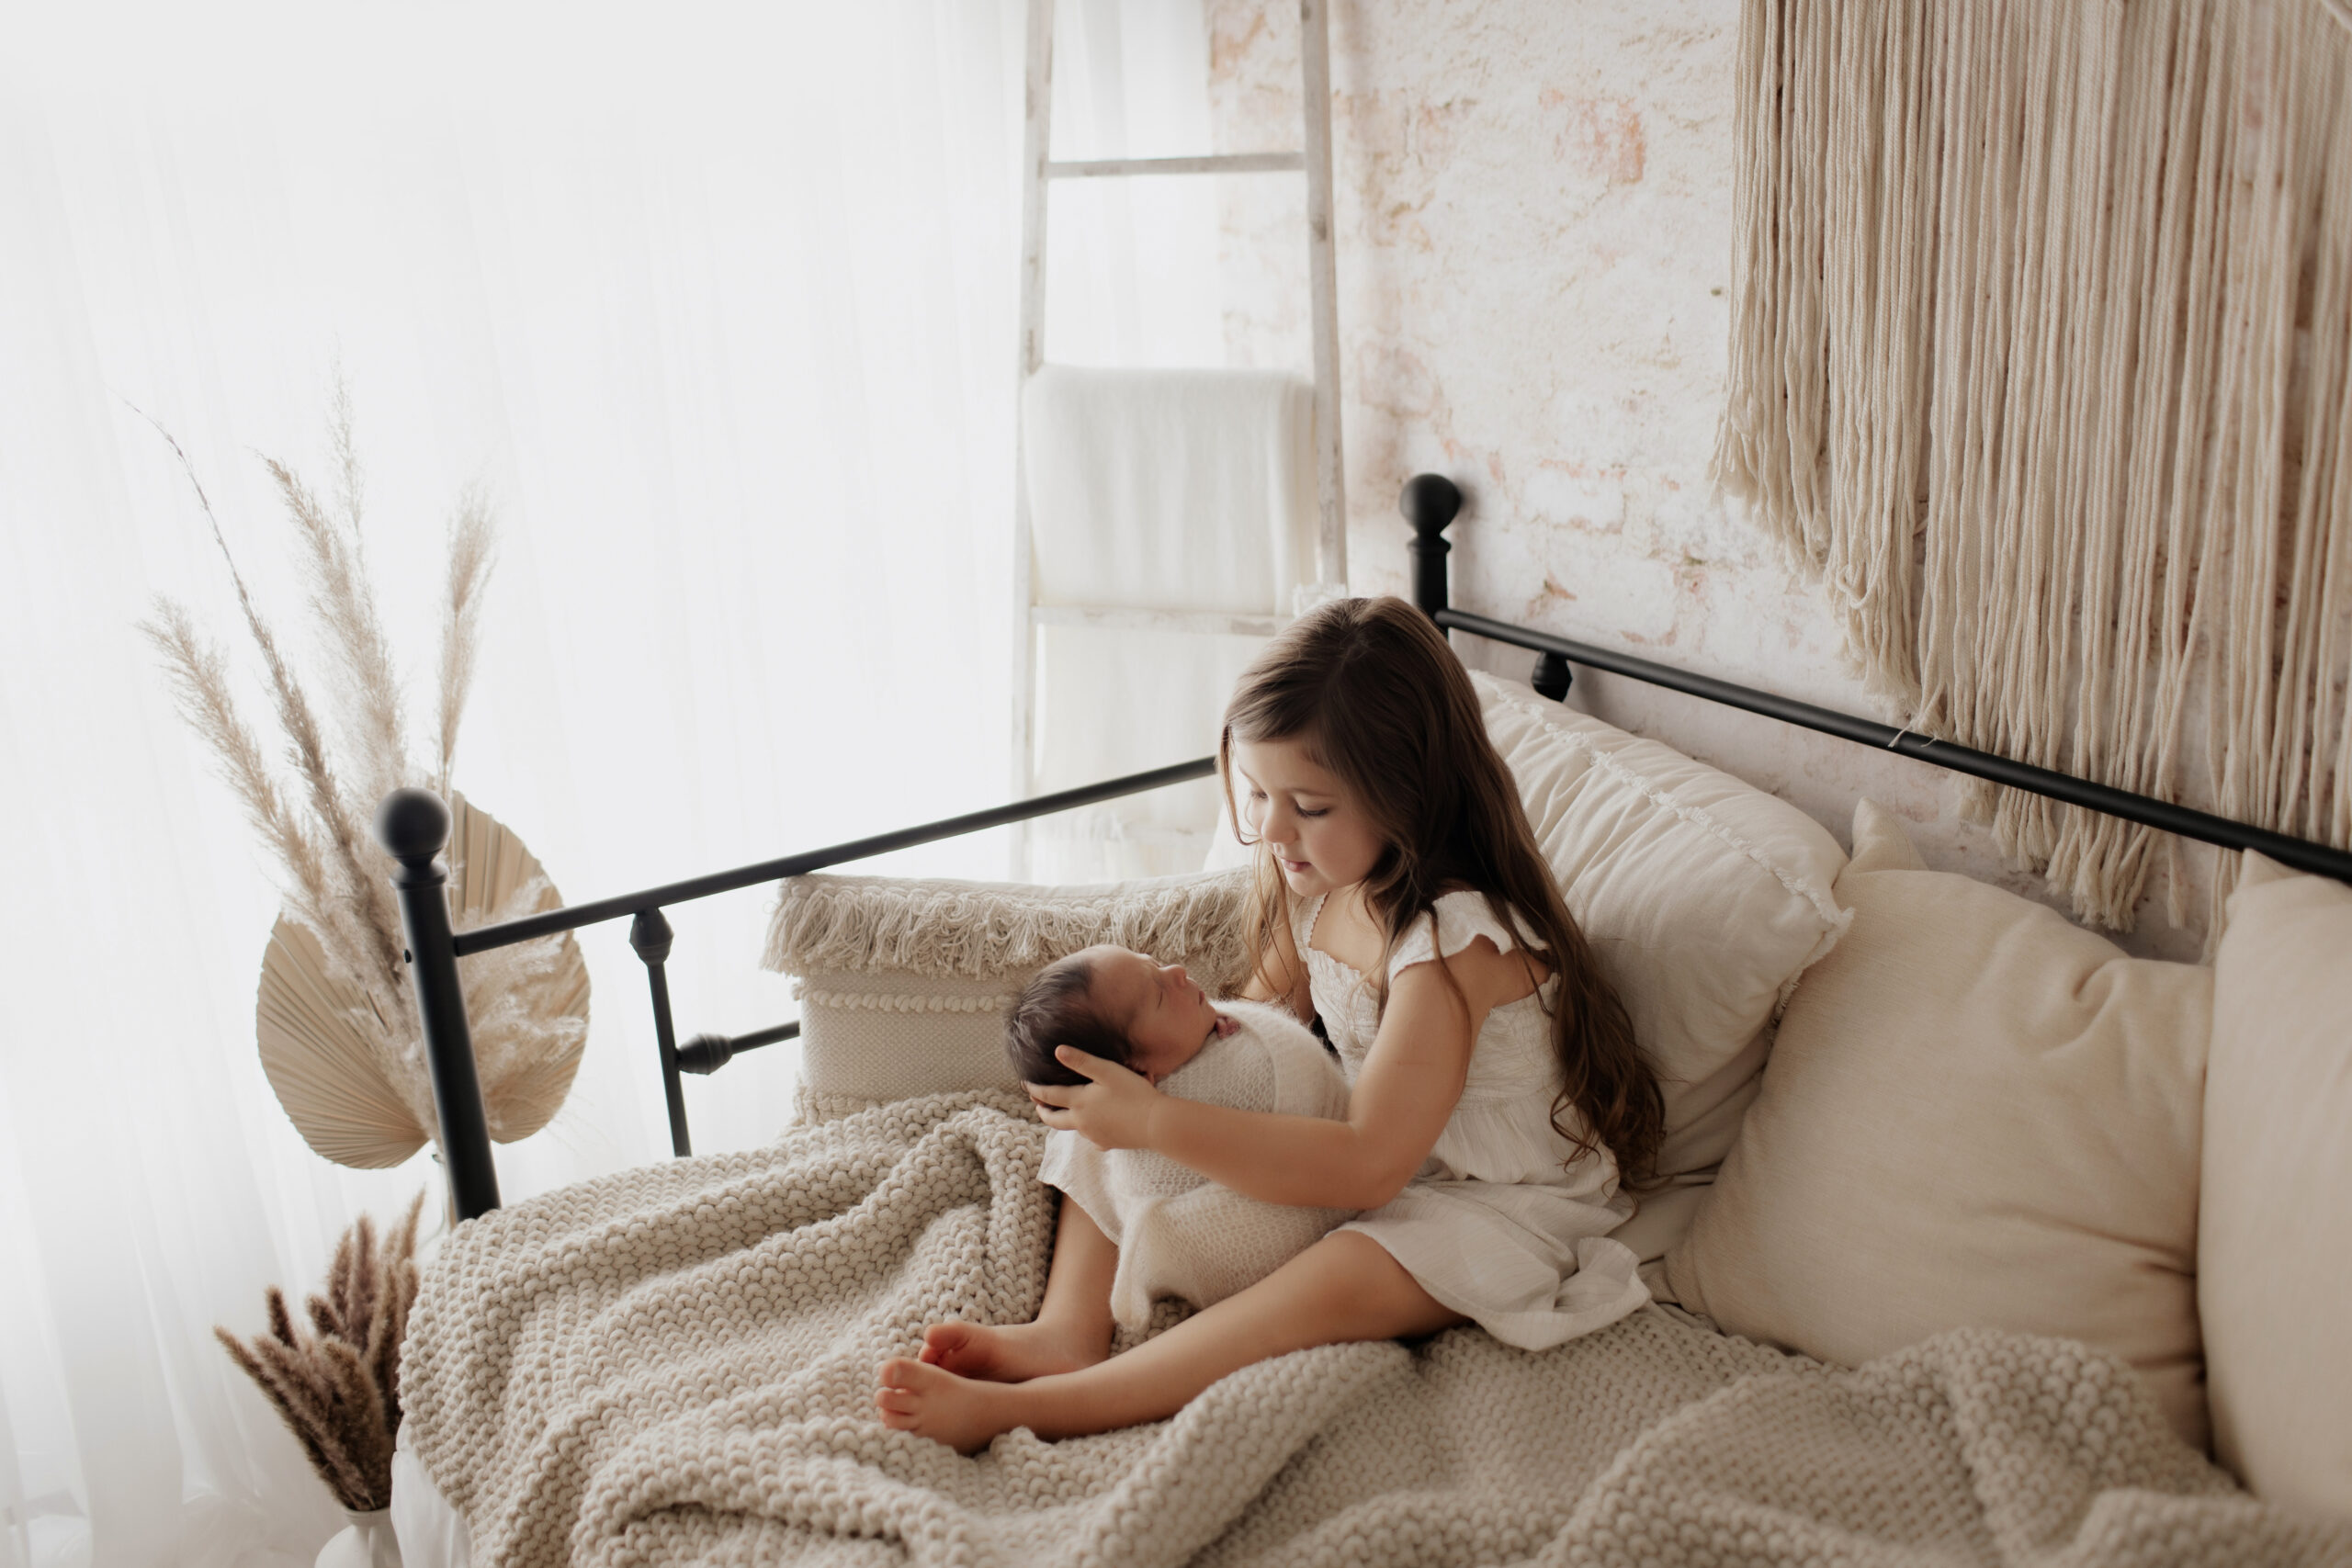
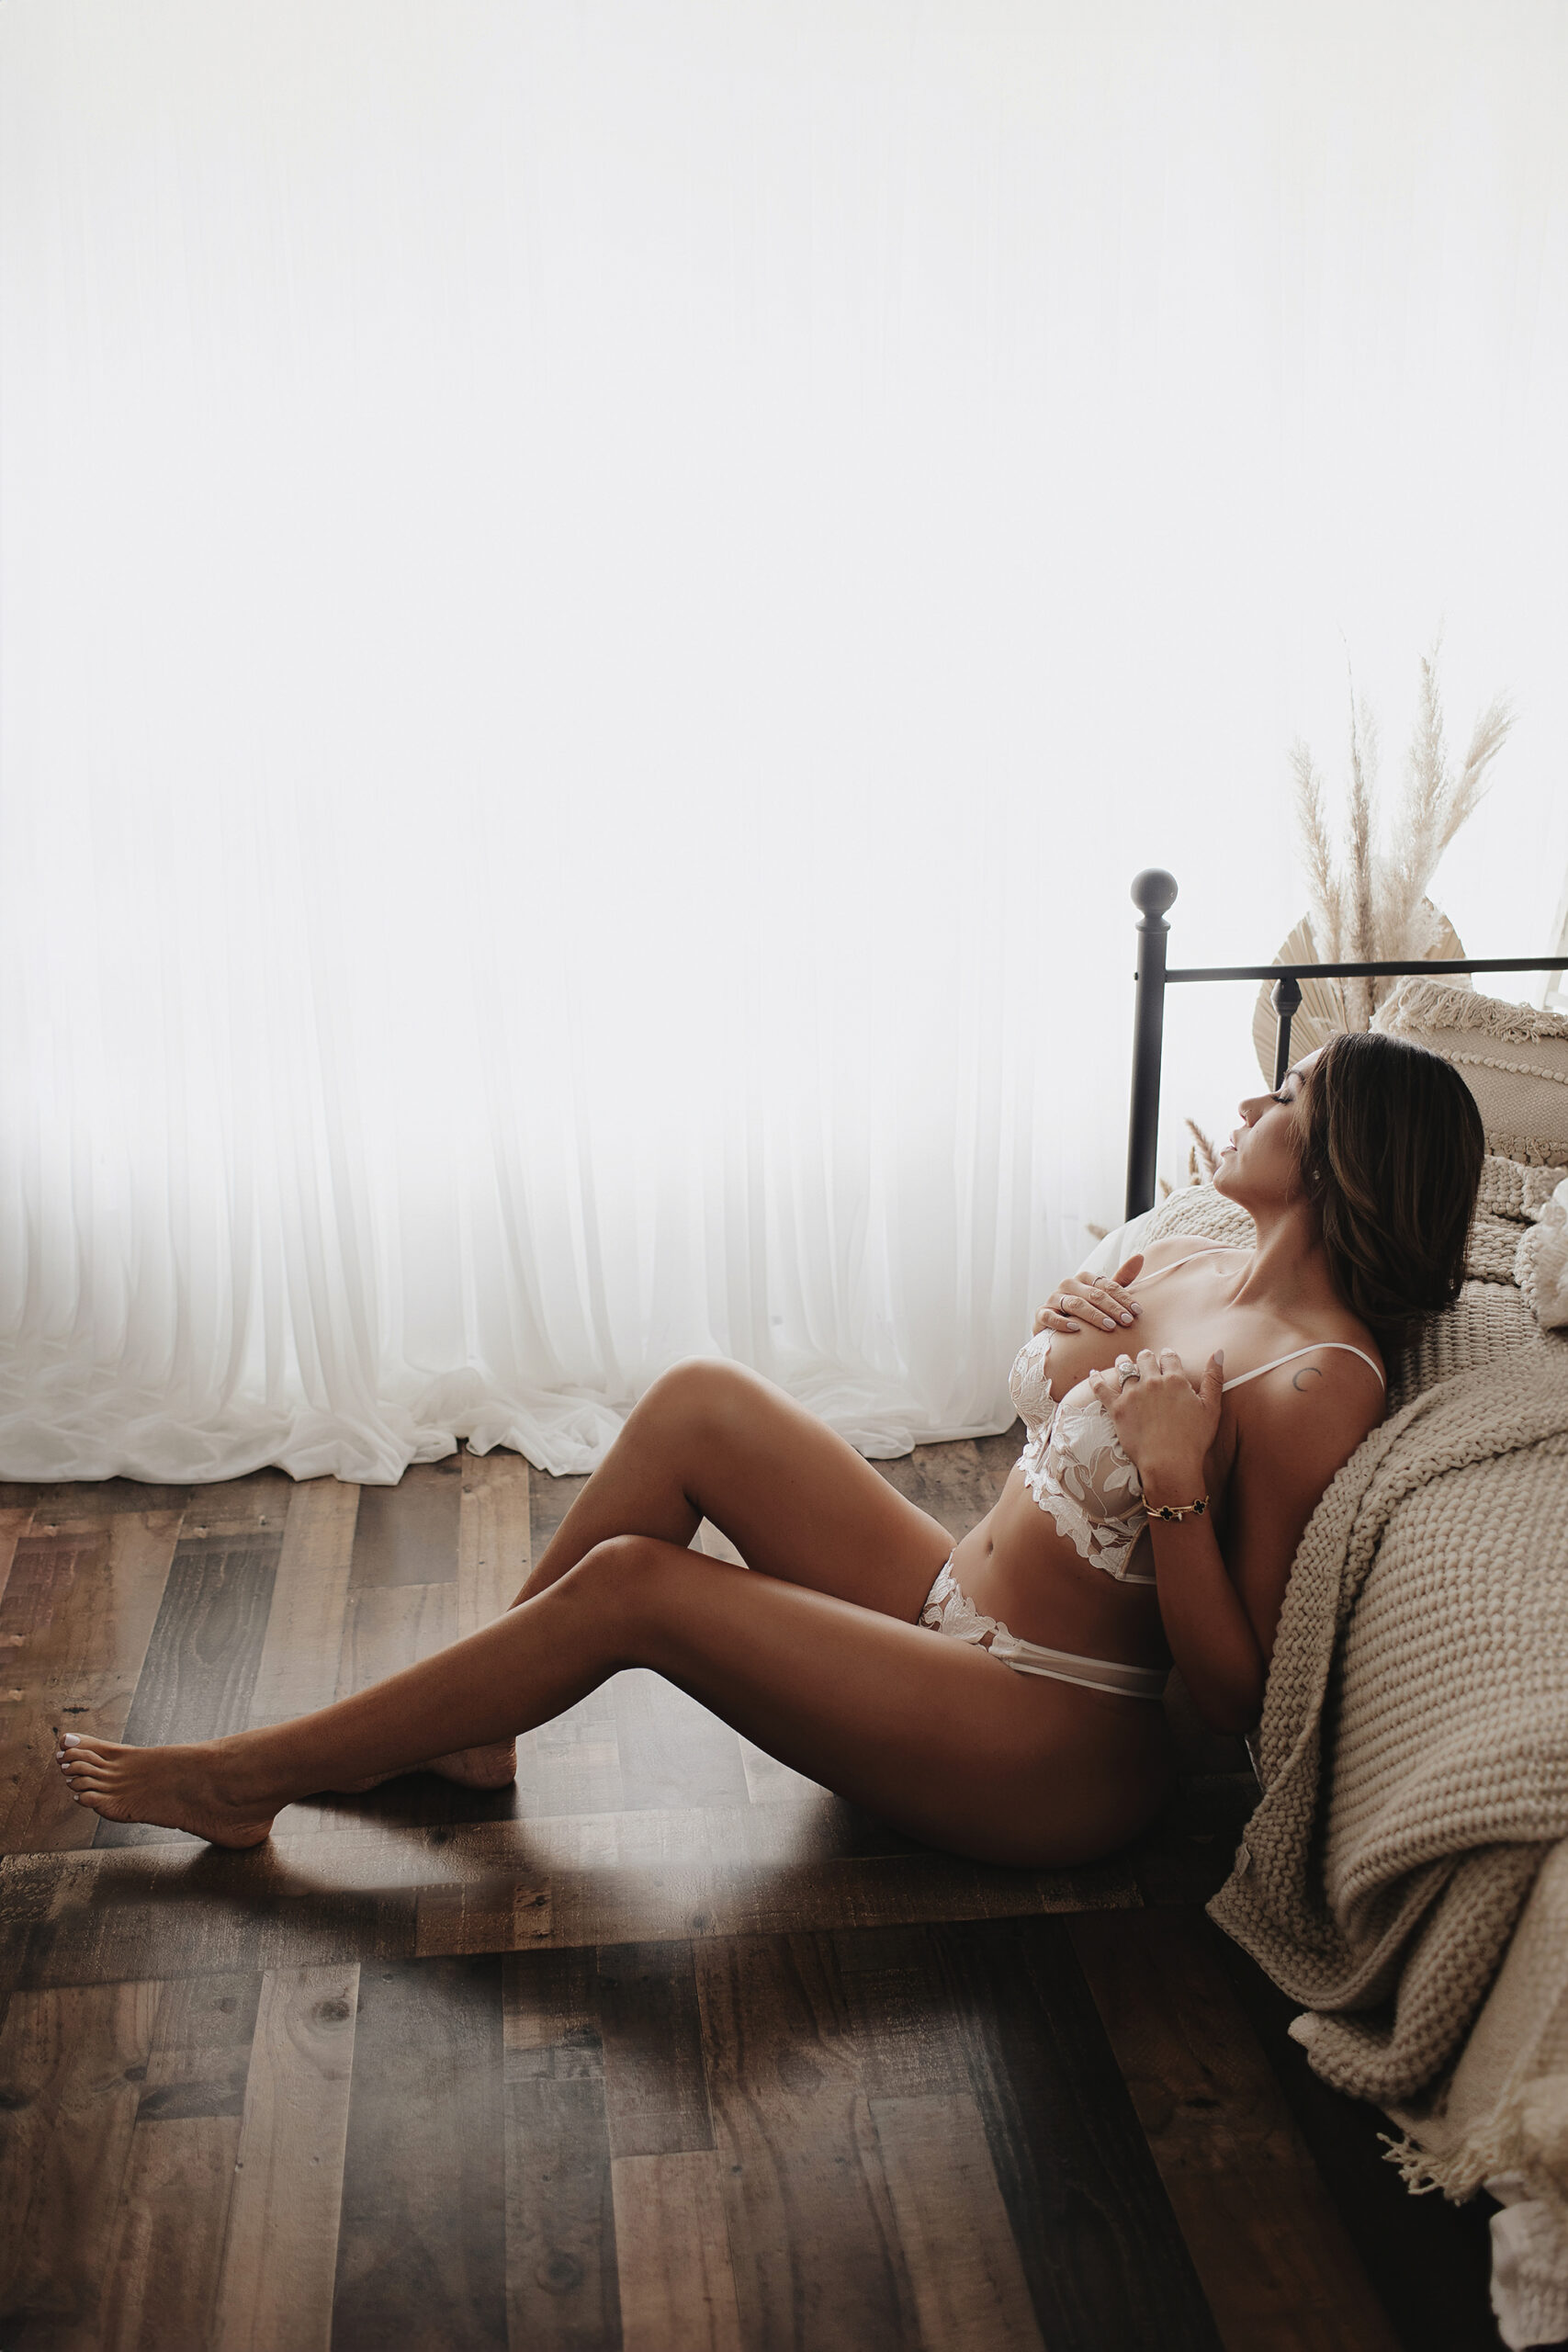
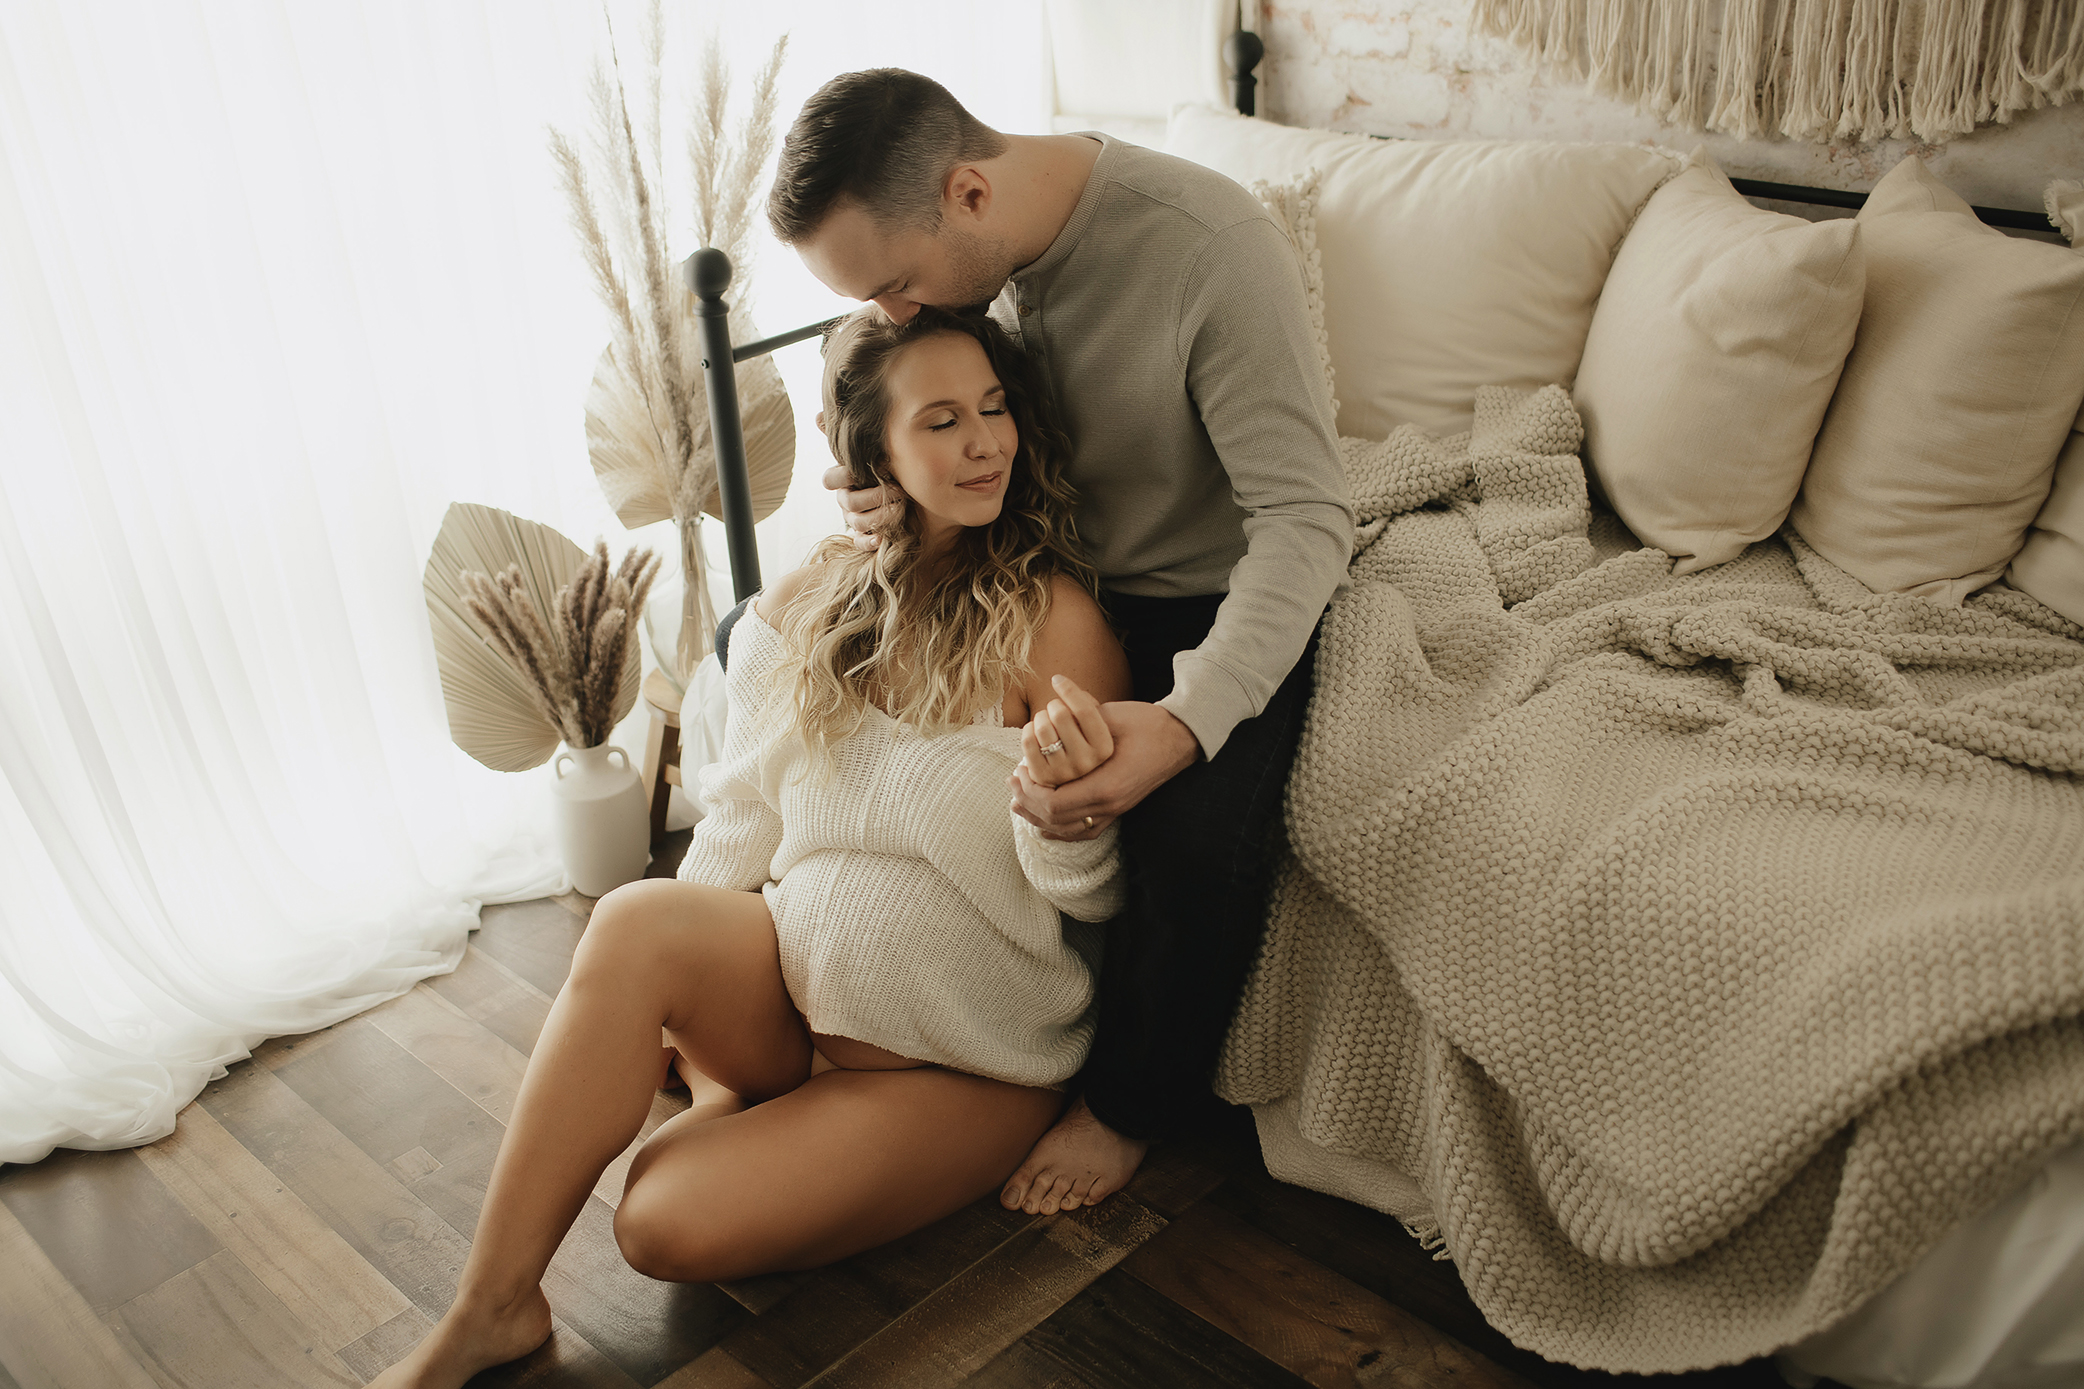
While it doesn’t “look” visually pretty, the final product is exactly what I wanted. I was a little hesitant on how editing would be, but I used the same preset I used when using my Einstein light and it was the same!
If you have any questions for me, please comment below and I’ll get back to you! Remember, there are others who can benefit from your question as well!
If you’re a new photographer and have any questions, or you’re a client and ready to set up your session with us – feel free to take a look at our package list and contact us!
If you’re searching for a photographer within the Phoenix area, please contact me to schedule your session today. All newborn sessions take place at my commercial studio located in North Phoenix (85027). I have a variety of props, all of which are available to use in your session.